Virtual Machine Management
The NuvlaCity ecosystem allows you to define and to deploy cloud applications across public clouds, private clouds, and NuvlaBox edge devices. Operators can deploy new application instances in a few clicks and developers can create new applications with a minimum of effort.
Minimal Operating Systems
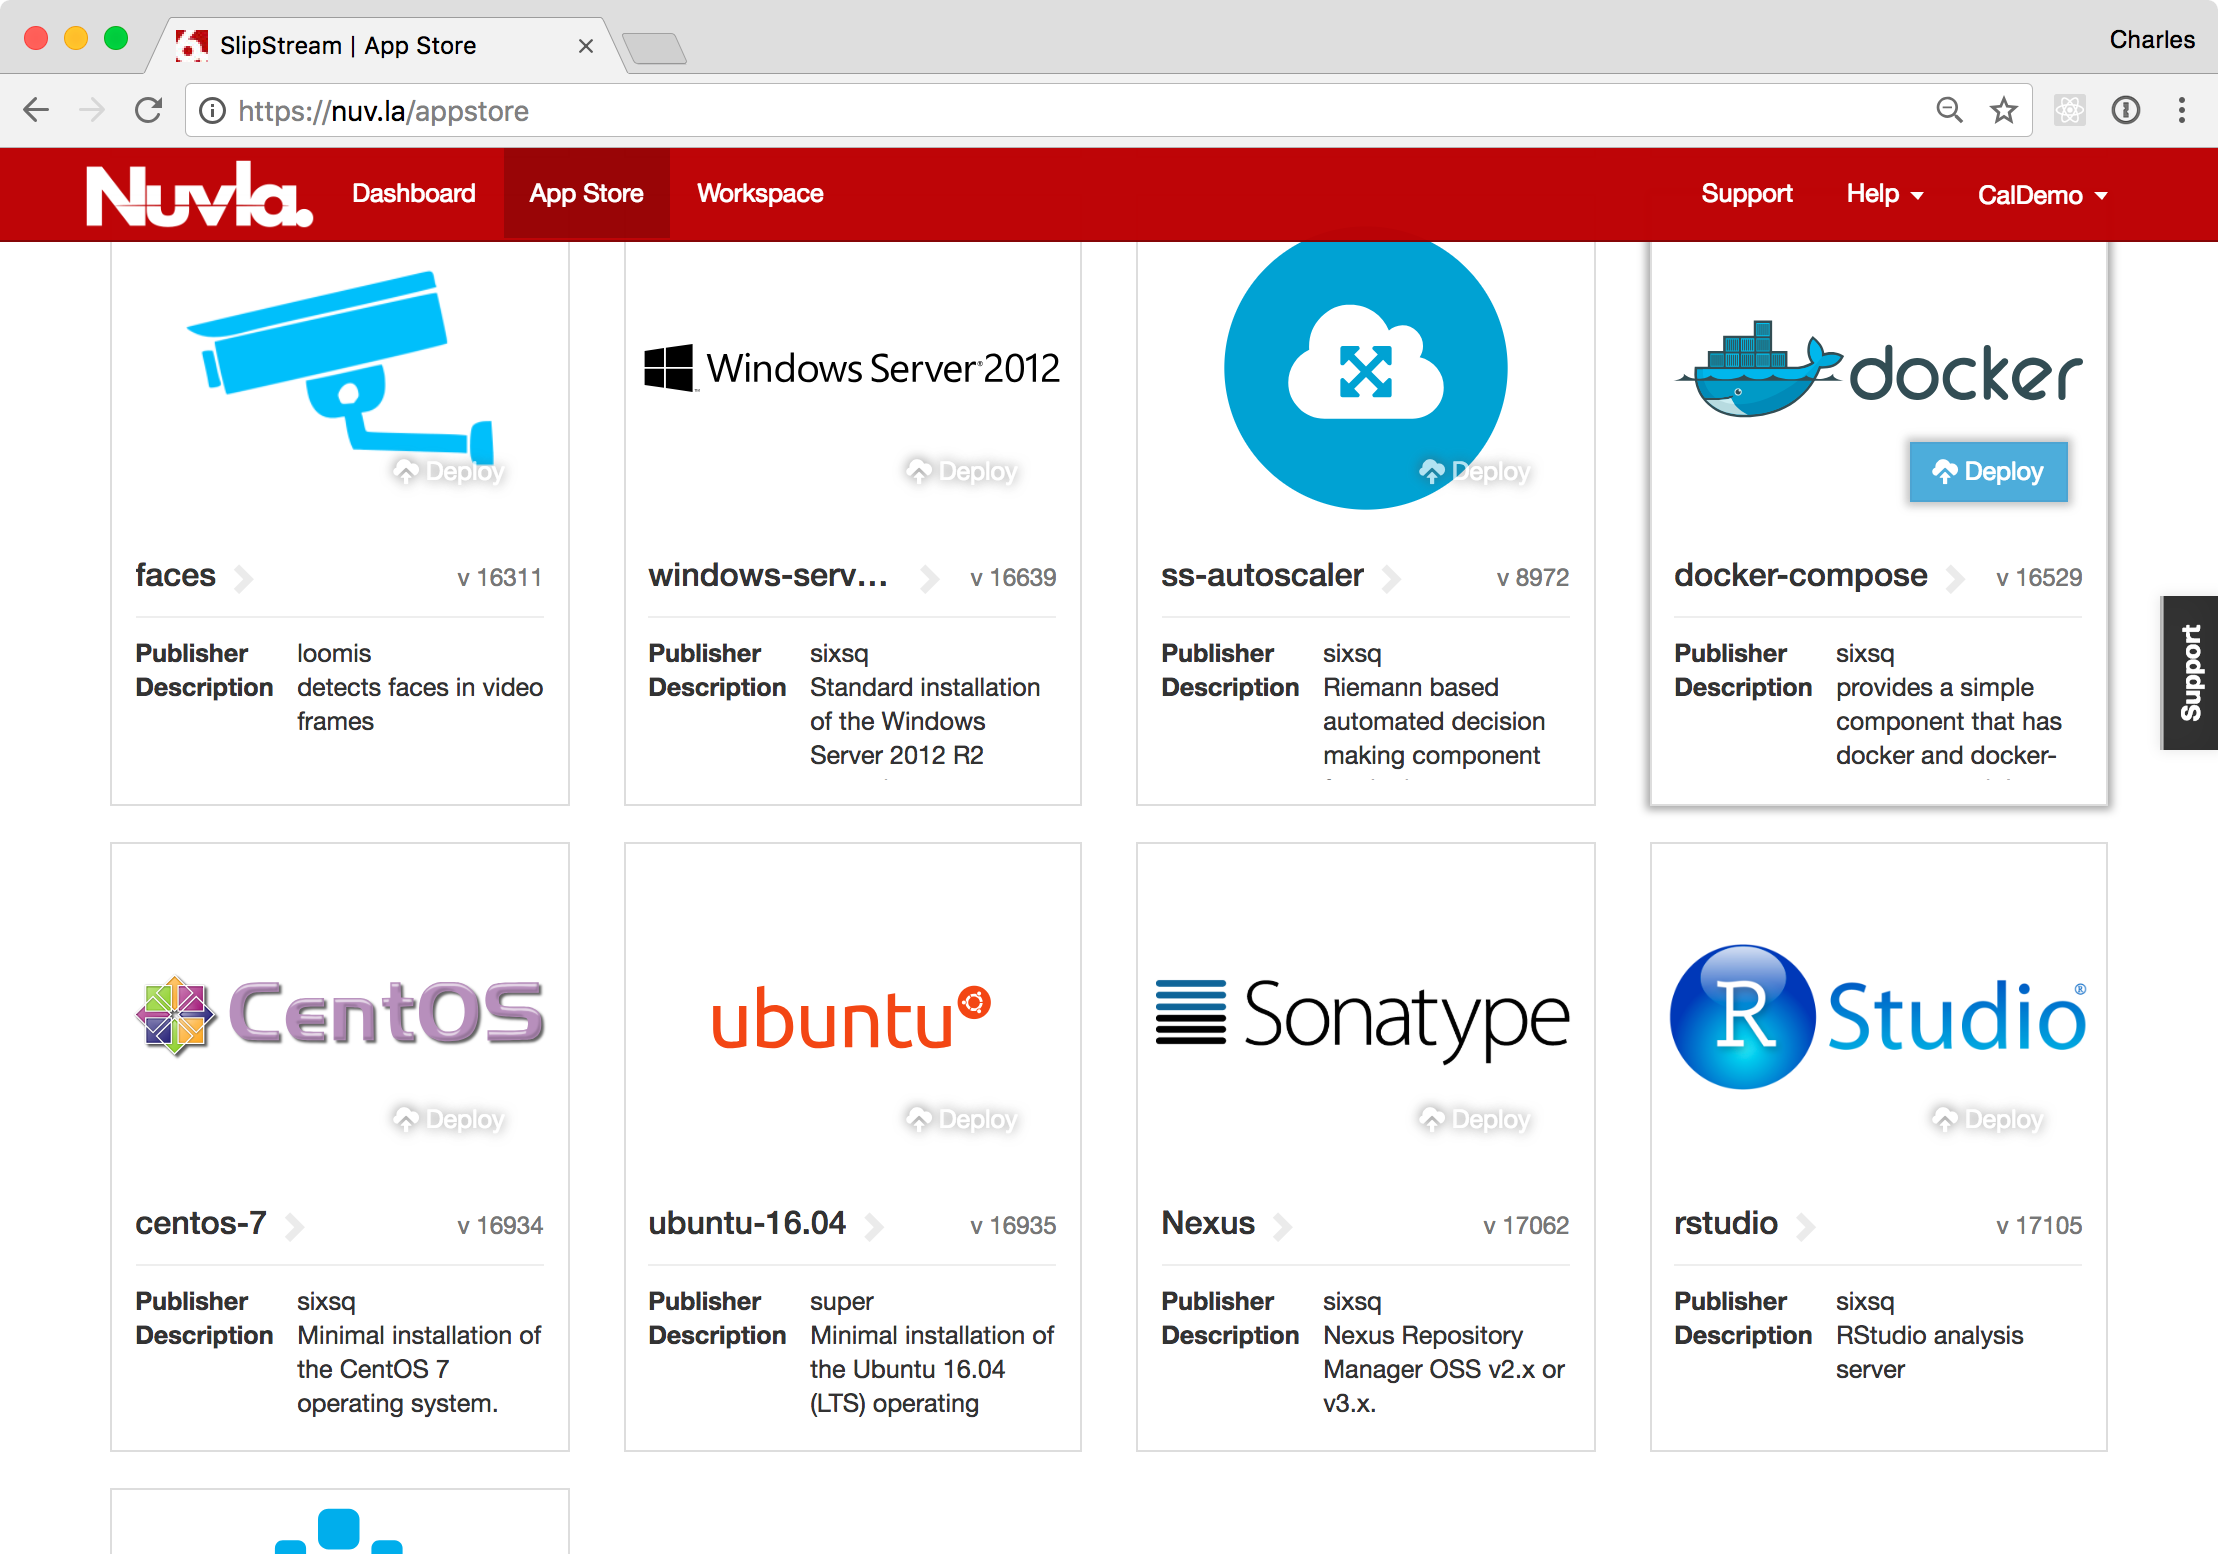
SixSq maintains SlipStream components on Nuvla that reference base operating system images that are (relatively) consistent across all supported cloud infrastuctures. The CentOS 7 and Ubuntu 16.04 operating systems are used most heavily and consequently, are embedded in the NuvlaBox machines by default.
When you are logged into Nuvla, you can find these “native components” in the Workspace:
and in the Nuvla App Store.
New virtual machines based on these components can be provisioned by
clicking on the Deploy action on the component page in the
Workspace or on the tile’s Deploy button in the App Store. Both
will bring up a deployment dialog.
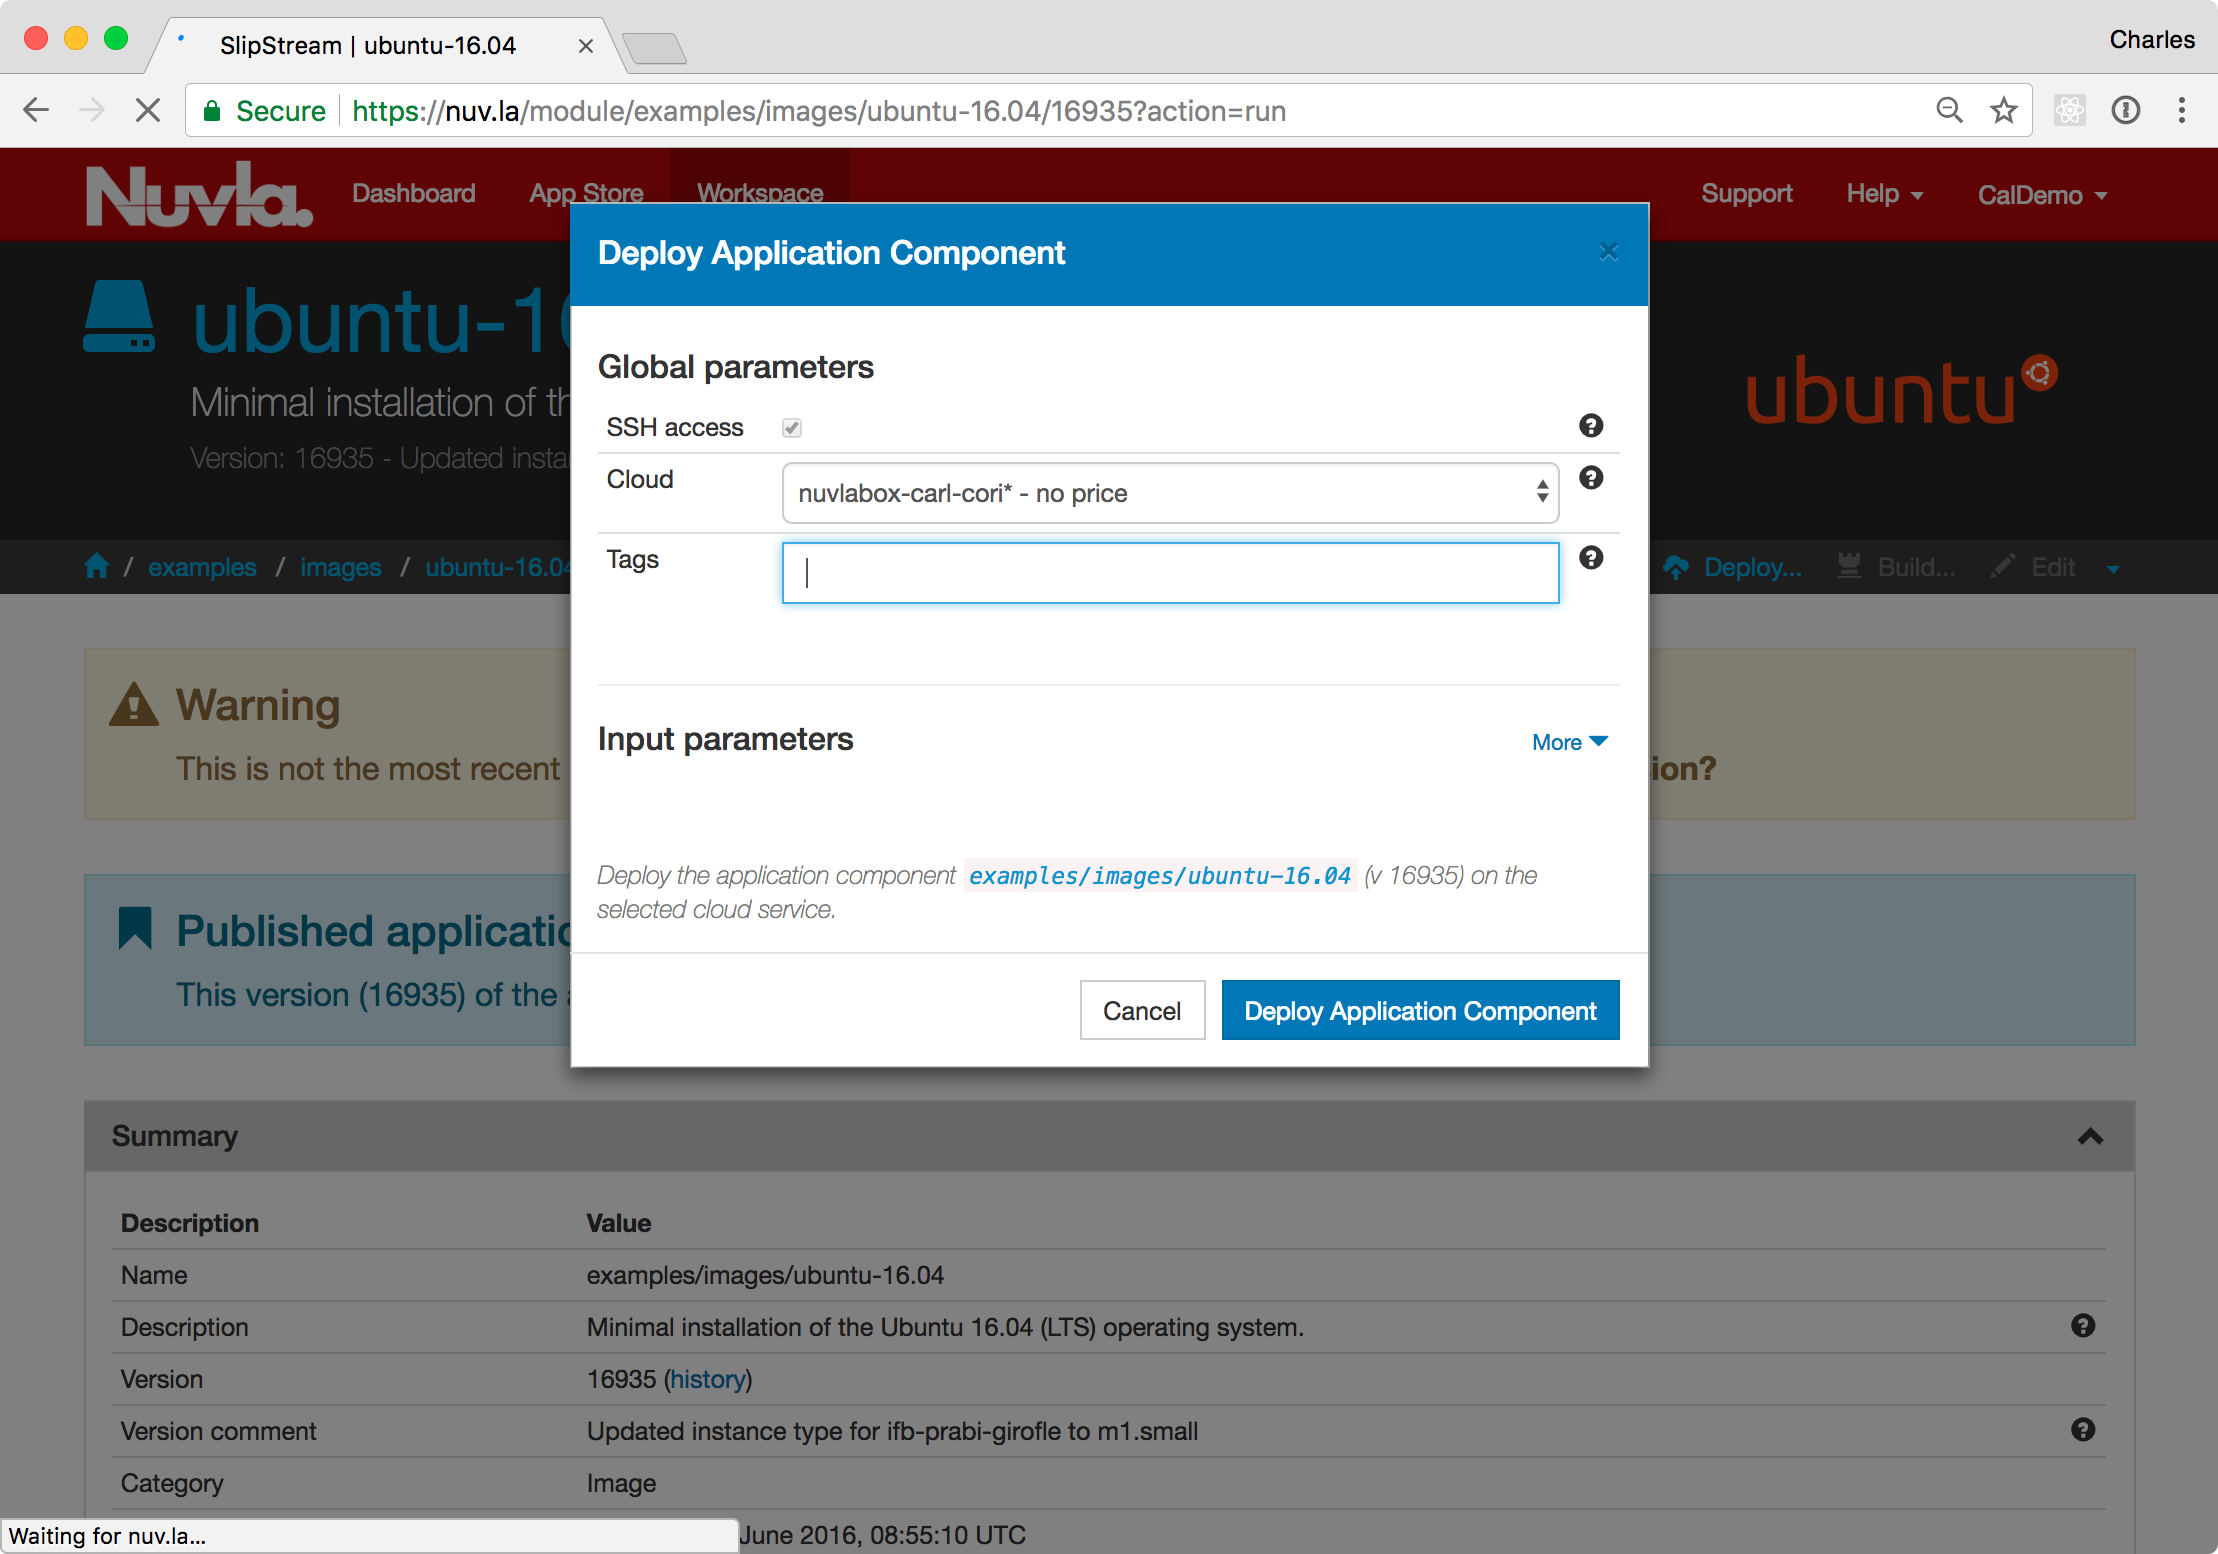
From here, just select the target infrastructure, then click the
Deploy Application Component button. This will take you to the
Dashboard, where you can follow the progress of the deployments.

You can do the same for the CentOS 7 image as well. Detailed deployment information can be found by clicking on the deployment “ID” link.
Once these are in the ready state, you can log into these machines with SSH (provided you’ve configured your account with your public SSH key). Just click on the SSH link or use the IP address (with the ‘root’ account) from a terminal.
As the administrator of these machines, you can install and configure any services you need for your application.
When you’re finished with them, you can free up resources by
terminating the machines. Either click the “X” icon for the
deployment on the Dashboard or click the Terminate action on the
deployment page.
Preconfigured Applications
Although you have complete freedom with the minimal operating system images, you will normally be running a small number of pre-defined services. Application developers can create specialized SlipStream components (single VM services) or applications (multiple VM services) to automate the deployment. This reduces the time to deploy the services, as well as eliminating mistakes from manual steps.
There are many examples of pre-defined components and applications in the App Store. Here we will demonstrate RStudio, a web-browser interface to the R statistical analysis program.
Find the RStudio tile in the App Store and click the Deploy button
to start it. The procedure for RStudio is the same as for CentOS 7 or
Ubuntu 16.04.
While RStudio is being deployed, you may want to review how the RStudio component was created. This information can be found on the RStudio component definition page.
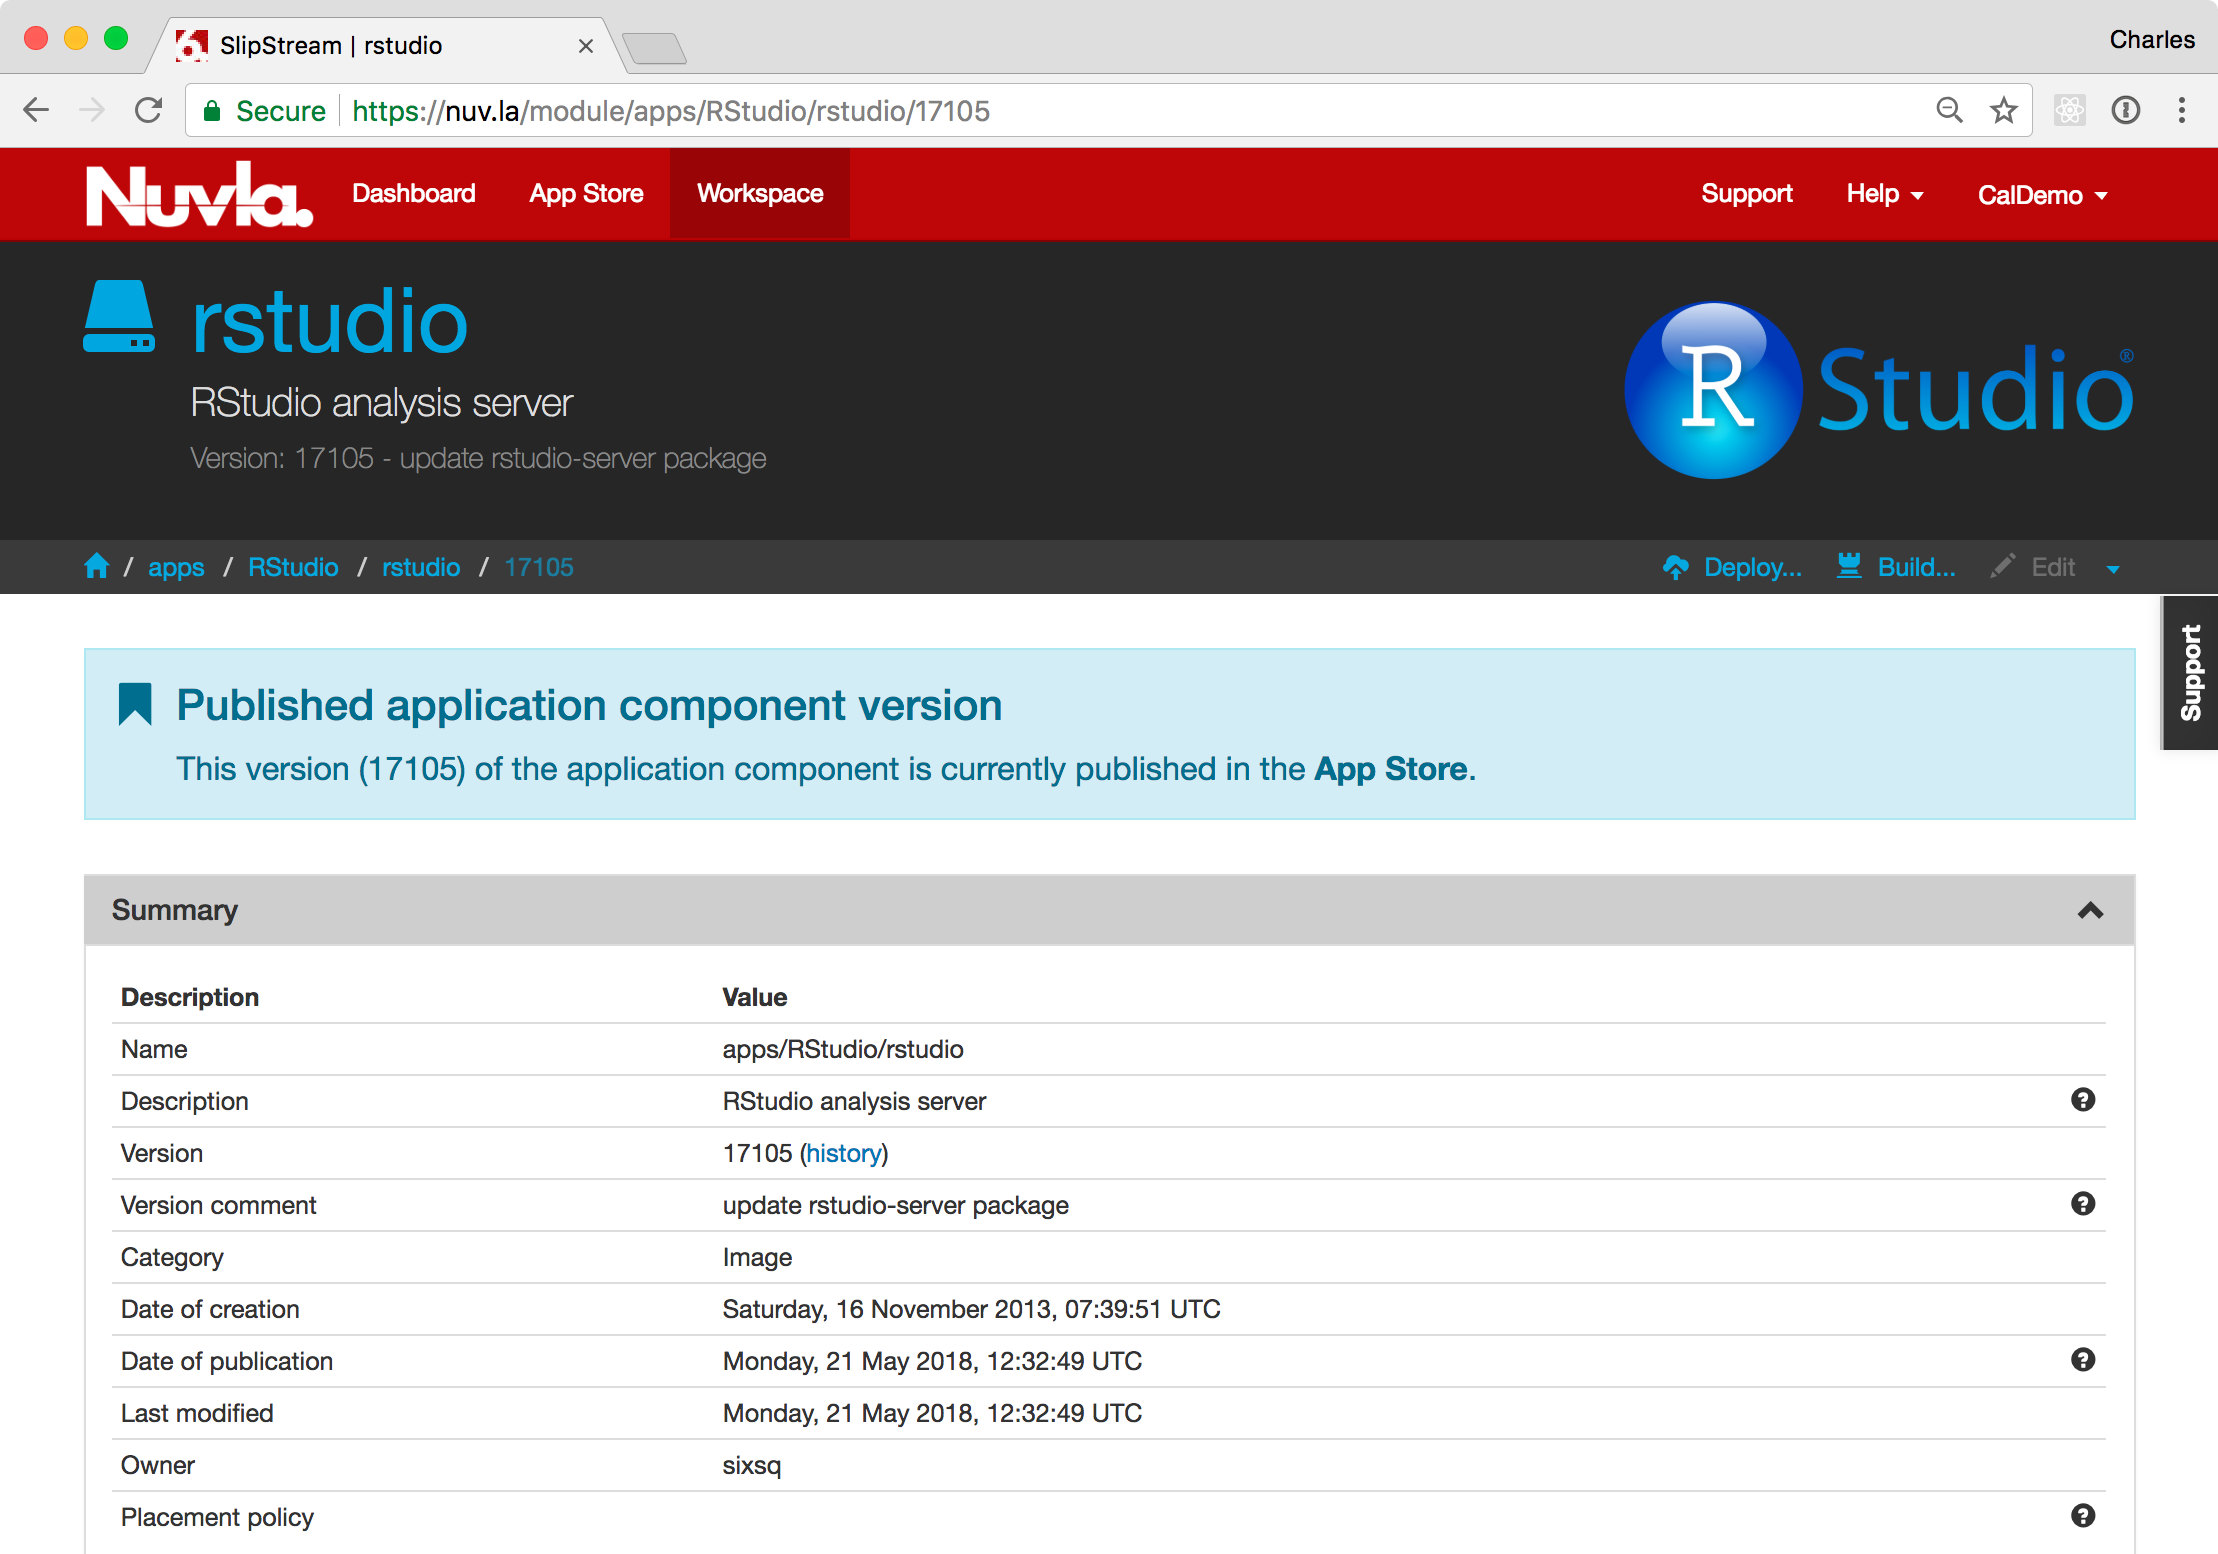
The information for the component is divided into sections. Click on any of the section headers to see the details:
- The Summary section provides general information about the component. From here, you can also find the entire history of the component.
- The Cloud Image Identifiers and Image Hierarchy section will show you the parent image. For RStudio this is the Ubuntu 16.04 image that we were using previously.
- The Application Parameters section shows the input and output parameters for the component. The output parameter of most interest for RStudio is the generated user password for the deployment.
- The Application Workflows section shows the actions that are performed at each stage of the application lifecycle. You can look at these scripts to understand how RStudio is configured and installed, as well as how it is integrated with the SlipStream parameter database.
The other sections also contain a few details of the deployment.
Once the deployment is ready, you can click on the provided link to access the RStudio application. You will immediately see that the page requires a username and password.
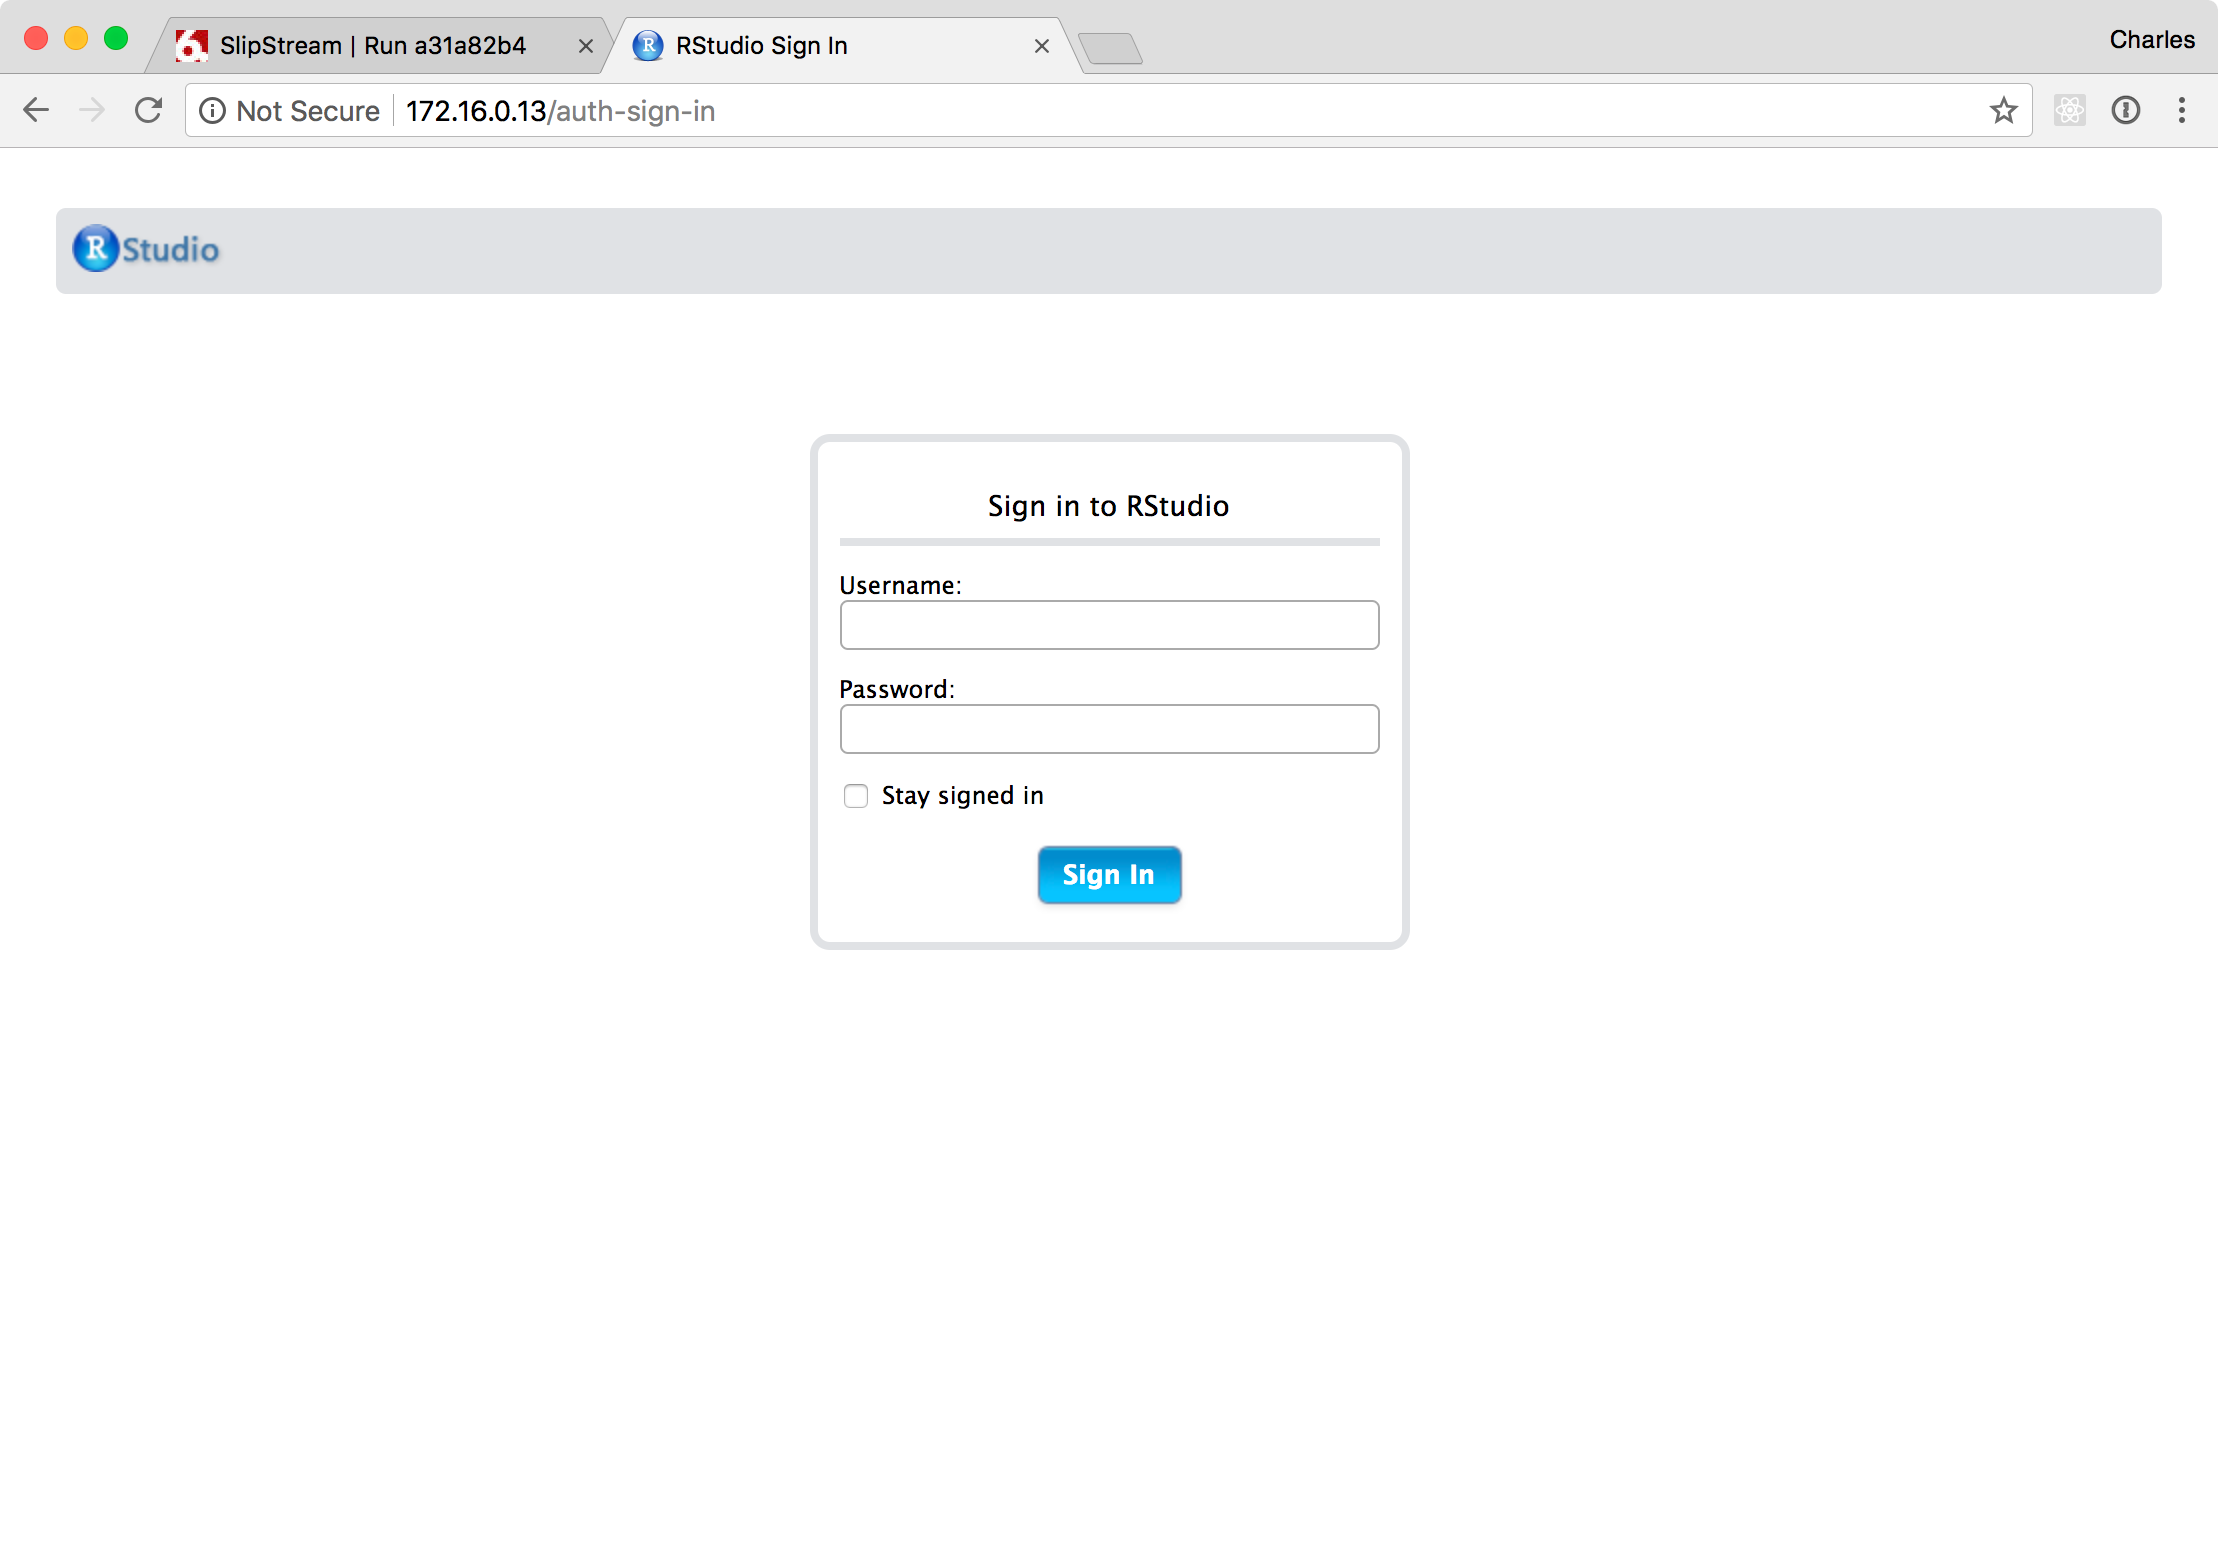
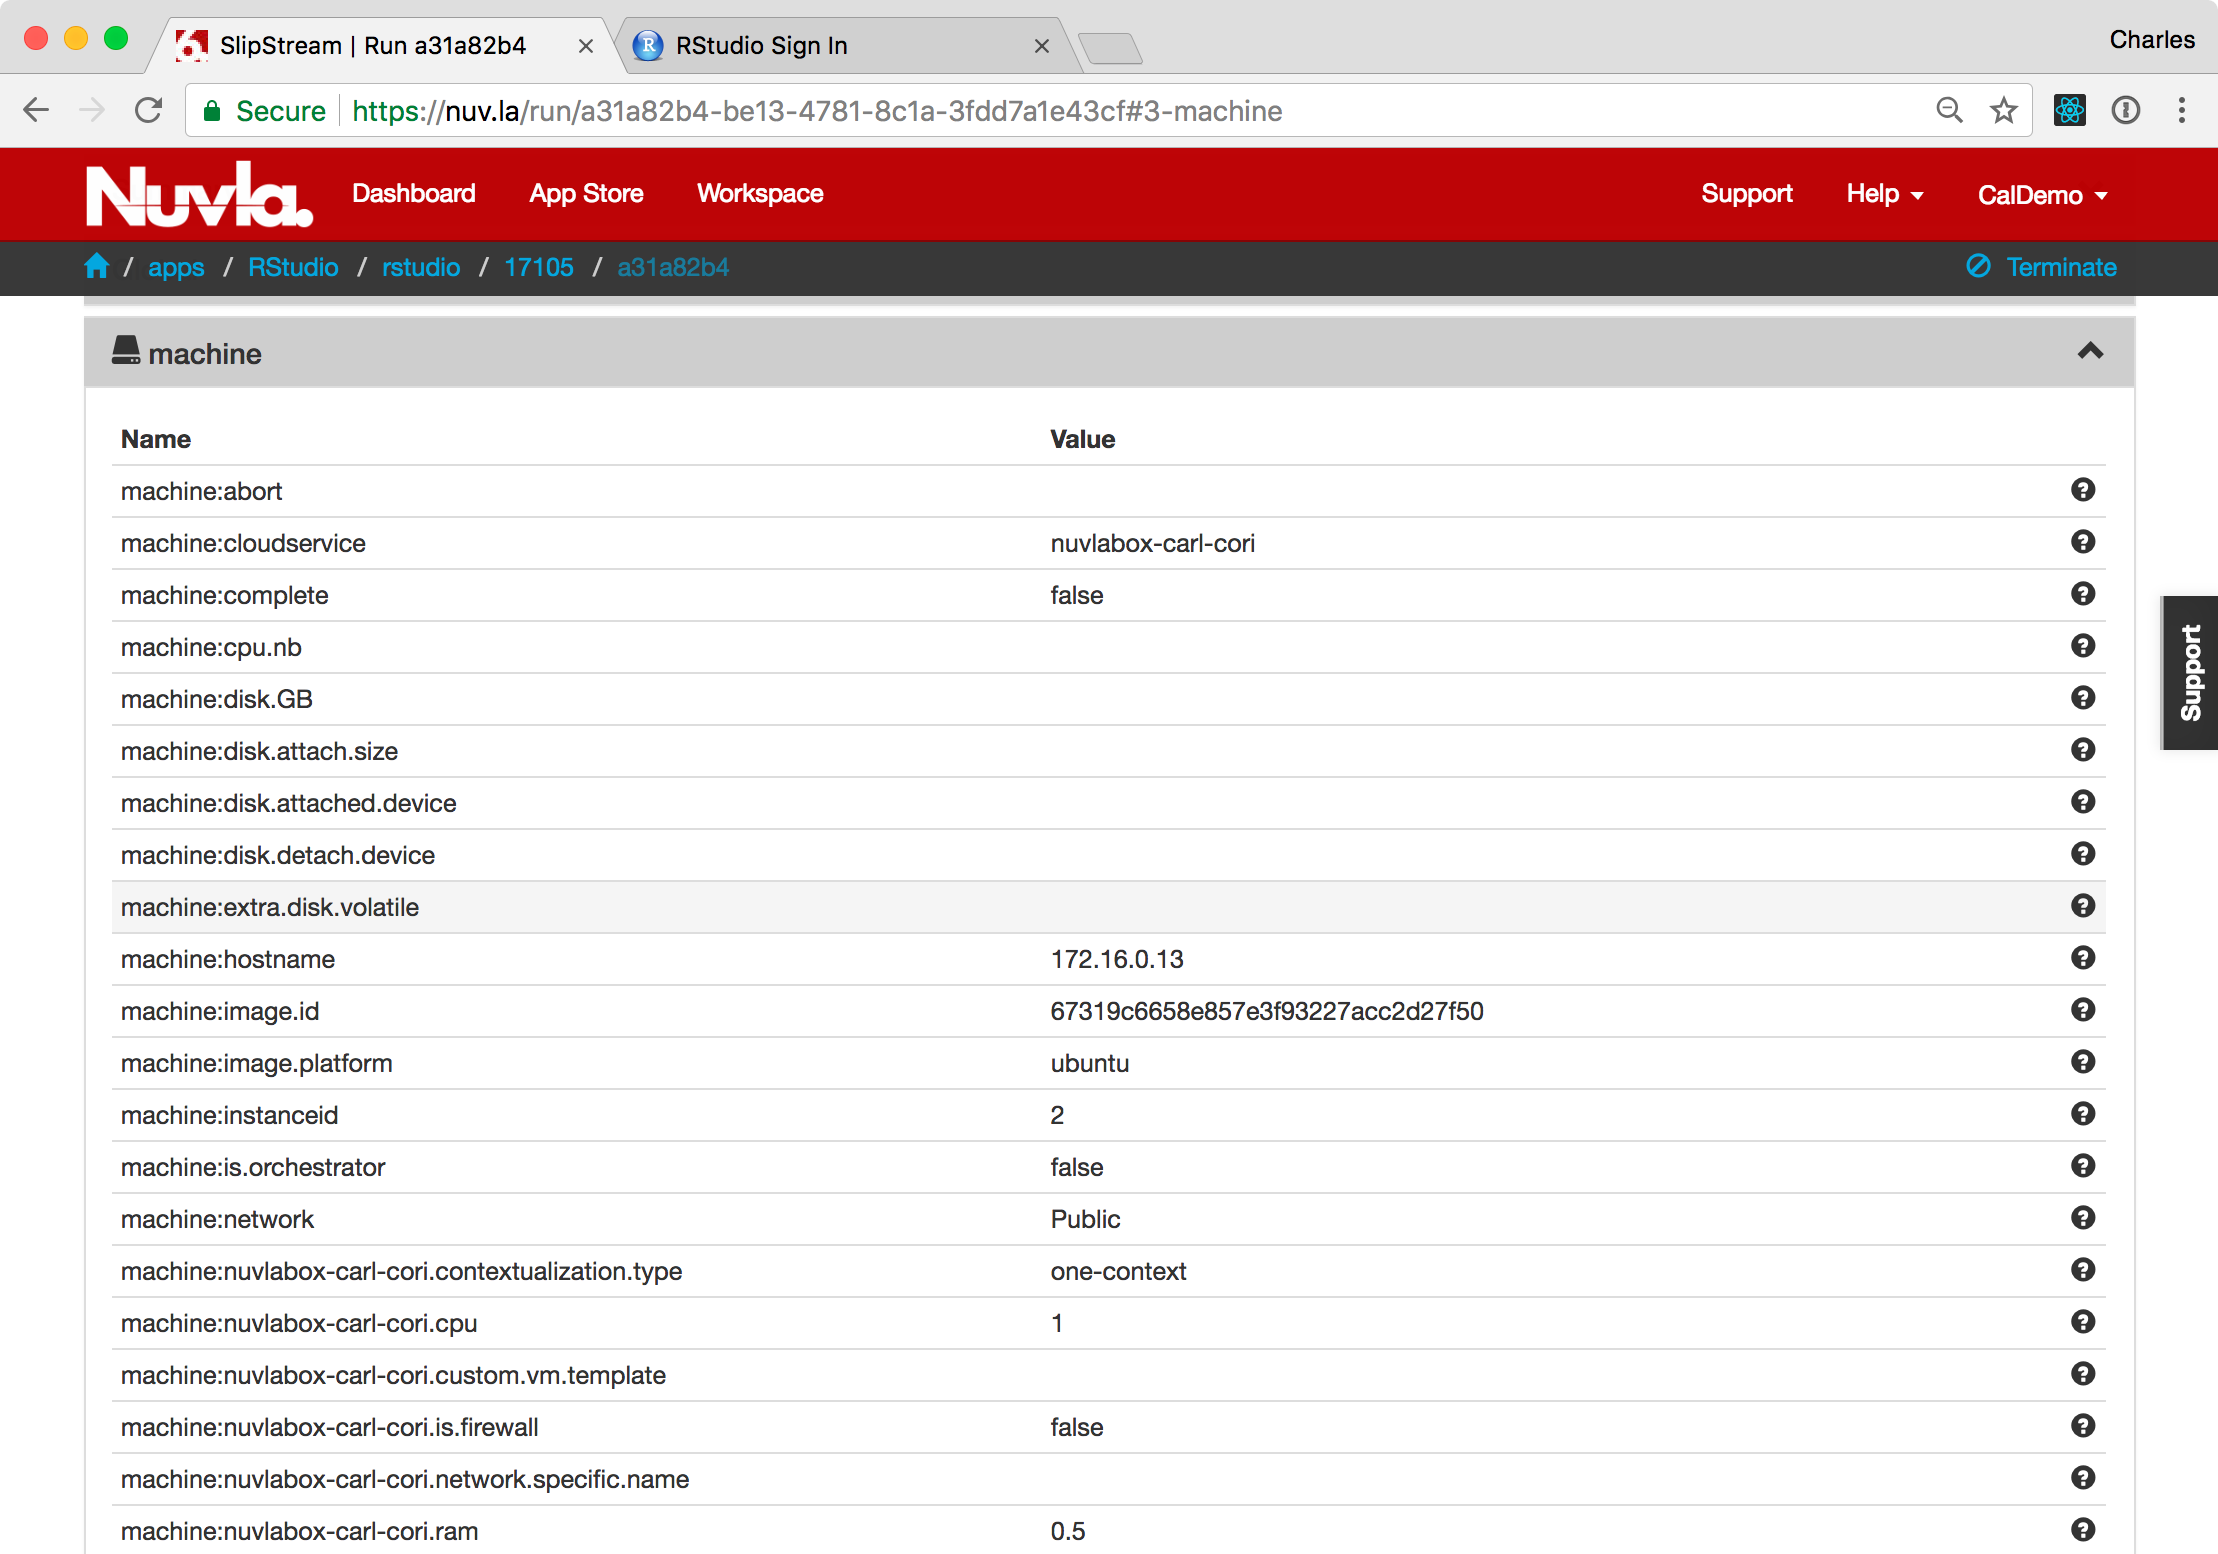
This information is communicated to you via the component’s output parameters. These can be found on the deployment page in the “Machine” section.
With the provided username and password, you can log into the RStudio console. You should see a dashboard similar to the following screenshot.
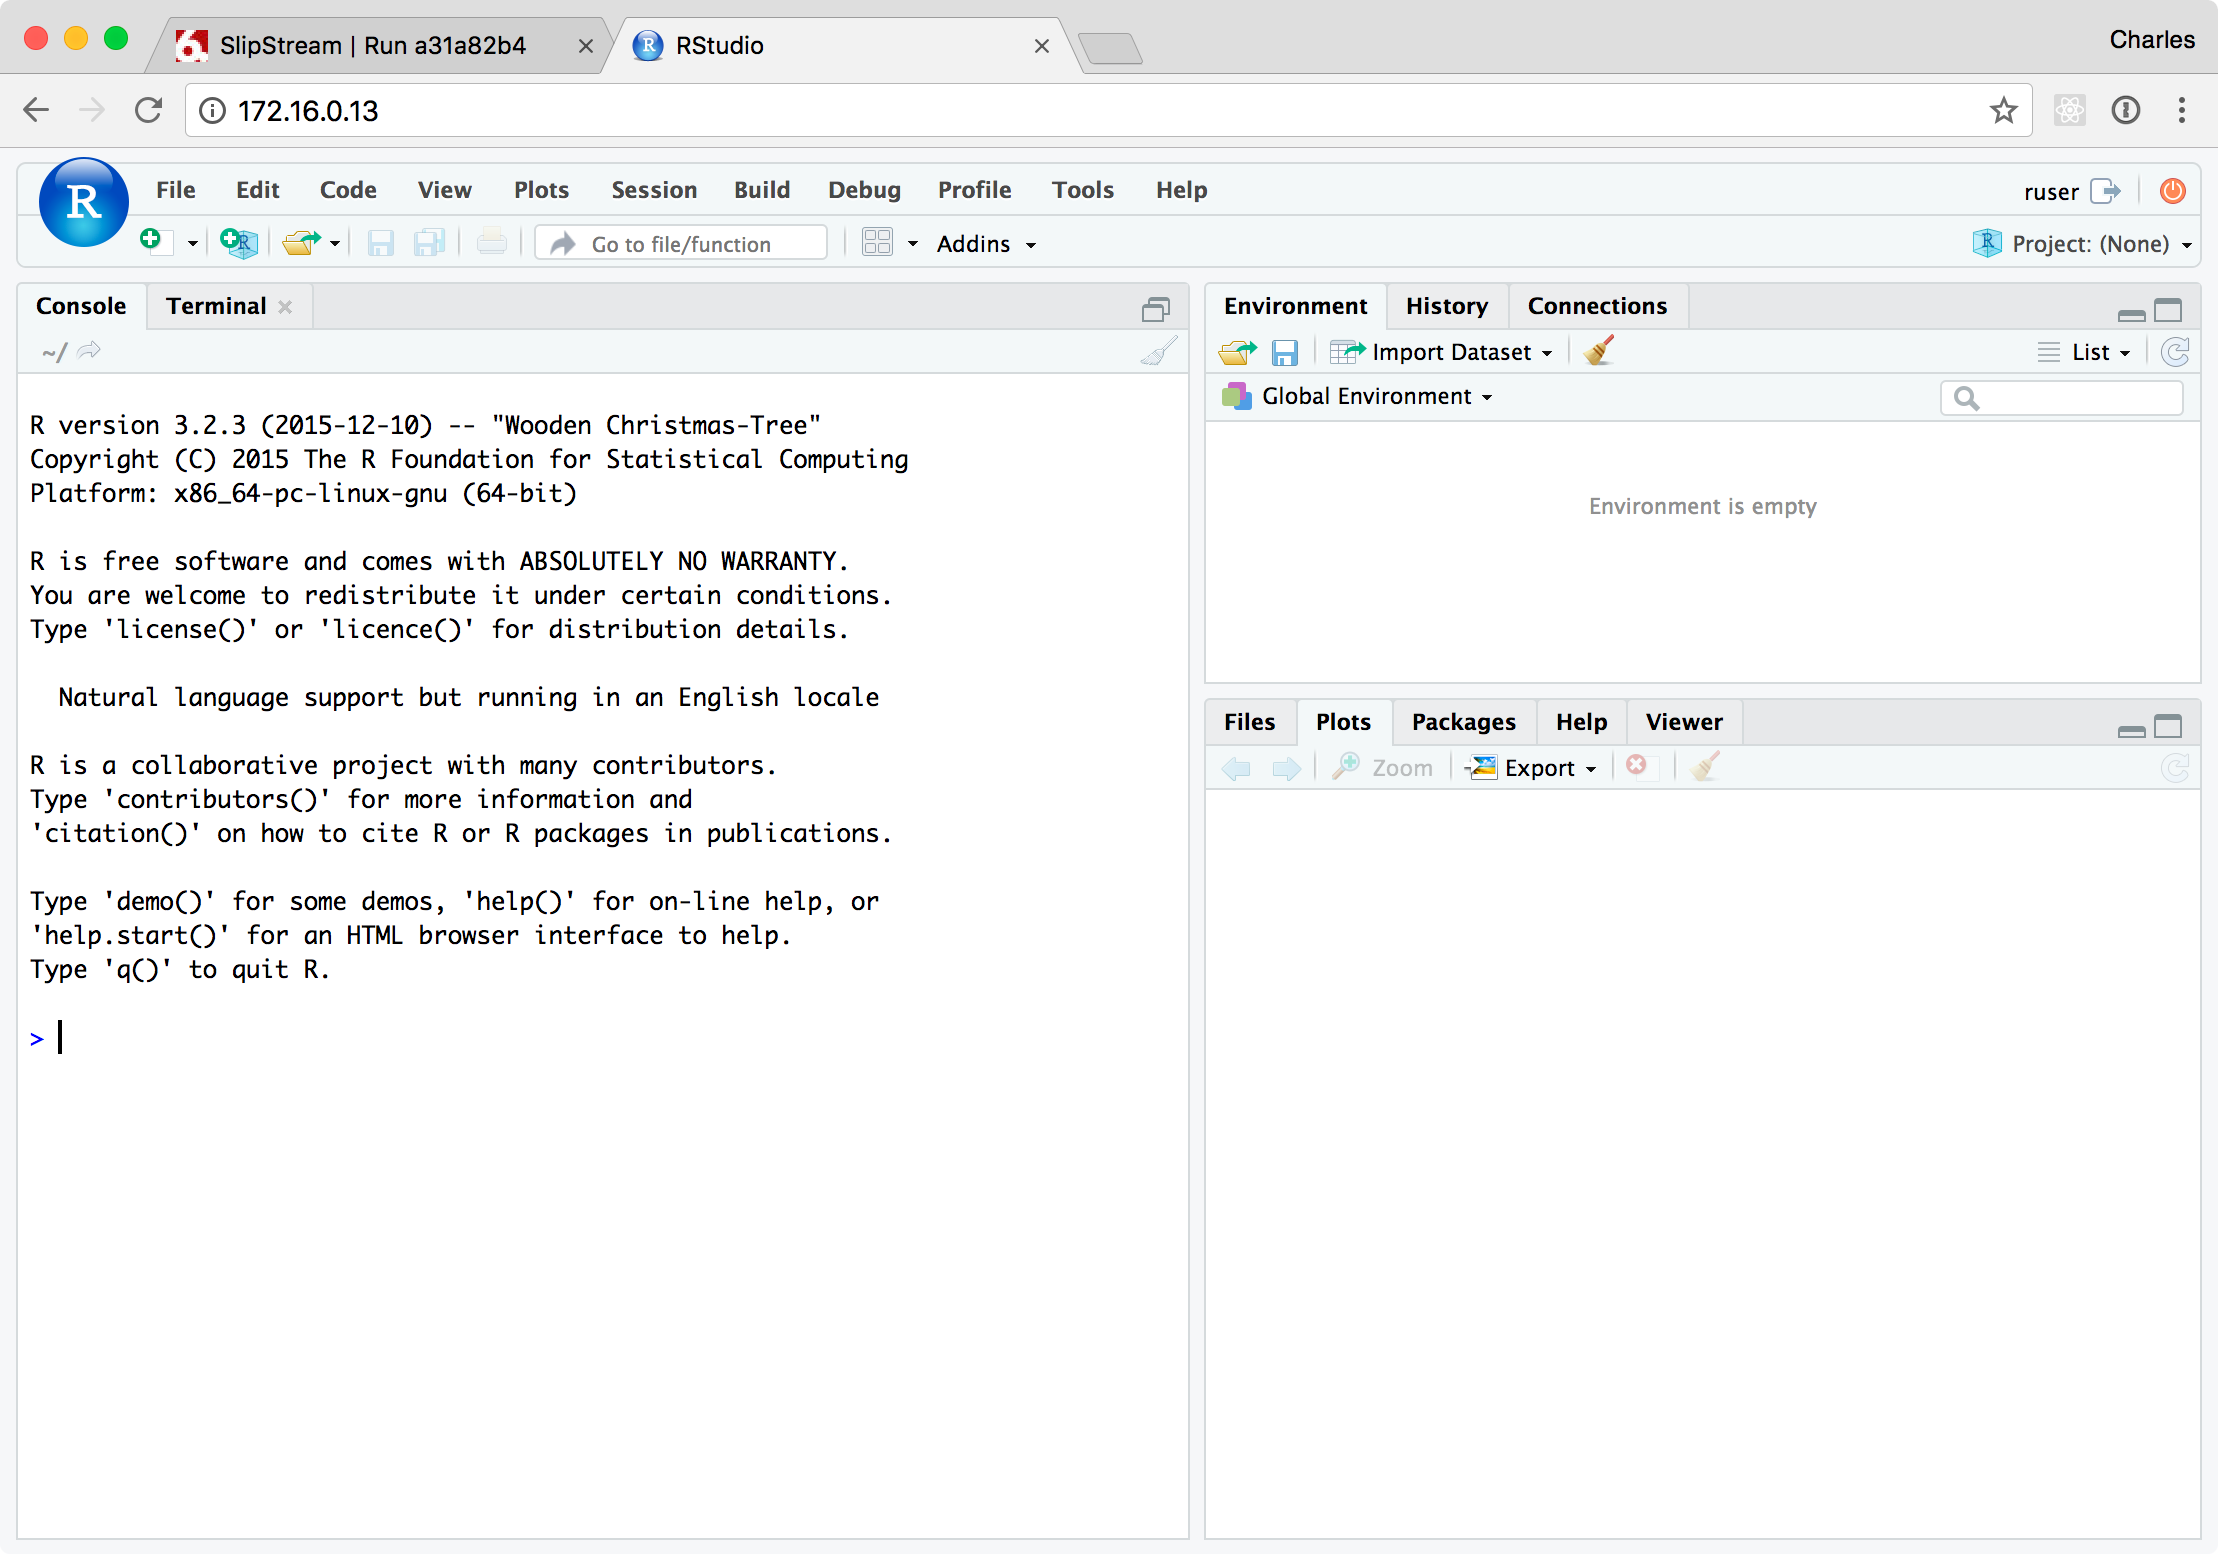
In the “Console” tab on the left you can type demo(graphics) to
see a demonstration of the RStudio graphics capabilities. Just keep
hitting return to advance through the demo.
When you are finished, you can terminate the RStudio application with
the Terminate action.
Summary
SlipStream allows you to define both simple and complex cloud applications. Once defined, you can manage the lifecycle of those applications easily. We will see an example of a complex application when we deploy Docker Swarm later.