NuvlaBox
The NuvlaBox is a secure and intelligent edge computing solution that integrates seamlessly with Nuvla, which provides management and a unified view of your edge resources. Hardware from Hewlett Packard Enterprise (HPE) and Logic Supply are certified for the NuvlaBox software.
This demonstration shows how to install the NuvlaBox software stack on certified HPE hardware and then to activate the NuvlaBox to make it accessible from Nuvla.
Network Access
A NuvlaBox can be installed without a network connection, but it must have a connection to be activated.
The Internet connection must be provided via a physical ethernet cable connected to the NuvlaBox machine’s primary network interface. For certified hardware with multiple ports, SixSq support can tell you which ethernet port to use on your machine for the Internet connection.
DHCP
Your local network must be configured to provide an IPv4 address via DHCP to the NuvlaBox machine. Static IP address assignment is recommended.
Outbound Connectivity
It is strongly recommended that your firewall be configured to permit unrestricted outbound access from the assigned IP address. As a strict minimum, the firewall must allow access to port 443 (HTTPS) on nuv.la; other ports may be required depending on which inbound connectivity scenario is chosen.
Inbound Connectivity
In many cases, inbound access to applications running on a NuvlaBox is required. The NuvlaBox can be configured in several ways to provide this type of access.
- By default, the NuvlaBox will provide direct access to applications running on the NuvlaBox to clients that are attached to the NuvlaBox’s local network, either via a physical cable or via WiFi (if available). The NuvlaBox bridges access to the Internet for client connected to the local network. This is the network configuration used in this demonstration.
- Nuvla and the NuvlaBox can be configured to proxy ports to the nuvlabox.com domain. This makes services running on those ports globally available to the Internet, although the number of available ports is limited. This solution currently relies on SSH tunneling between Nuvla and the NuvlaBox, but will use the VPN (described below) in the future.
- The NuvlaBox can be integrated with the organization’s corporate network. This allows full access to services running on the NuvlaBox from clients within the corporate network. This requires specific configuration of the NuvlaBox and the corporate network’s DHCP server.
- Finally, the NuvlaBox can be integrated with a Virtual Private Network (VPN). This allows full access to services running on the NuvlaBox from other clients within the same VPN, but credentials for accessing the VPN must be managed.
You are invited to discuss with SixSq engineers which solution best meets the requirements of your NuvlaBox deployment.
Installation
Note
If you order NuvlaBox machines directly through SixSq, the NuvlaBox software stack will already have been installed on the machines. If this case, you can skip ahead to the activation section.
Note
If your NuvlaBox is connected to the Internet during the installation process, then it will automatically perform both the installation and activation.
The installation and configuration of the NuvlaBox hardware is accomplished by booting from an installation USB stick.
USB Stick
First, find a USB stick to use for the installation:
- Obtain a USB stick with at least 2 GB of space. Using a USB 3 stick will allow faster installation, but USB 2 will work as well.
- The stick will be entirely reformatted. Do not use a stick with data you want to save.
- Attach the USB stick to the laptop (or other machine) that you will use to initialize the stick.
Copy Installation Image
Second, download and copy the NuvlaBox installation image to your USB stick.
- Ask SixSq support for the URL to download the latest NuvlaBox USB image.
- Using this URL, download the image to a laptop where you have attached the USB stick.
- Determine the USB device for your stick.
- Perform a raw copy of the image to your USB stick.
On a Linux or Mac OS machine, the copy can be done with the dd
command. On a Windows machine, there are a number of tools that can
be used to create a bootable USB stick from an image. Use your
favorite!
Boot from USB
Third, boot the target machine from the USB stick:
- Plug the USB stick into target machine.
- Turn on the machine.
- Enter into the BIOS settings, on HPE machines this is usually accomplished by pressing the
F10key while the machine boots.- In the BIOS, navigate to the boot options and force the machine to boot from the USB stick.
- Do not change the default boot device to the USB stick.
- Exit the BIOS and allow the machine to start from the USB stick.
Installation Type
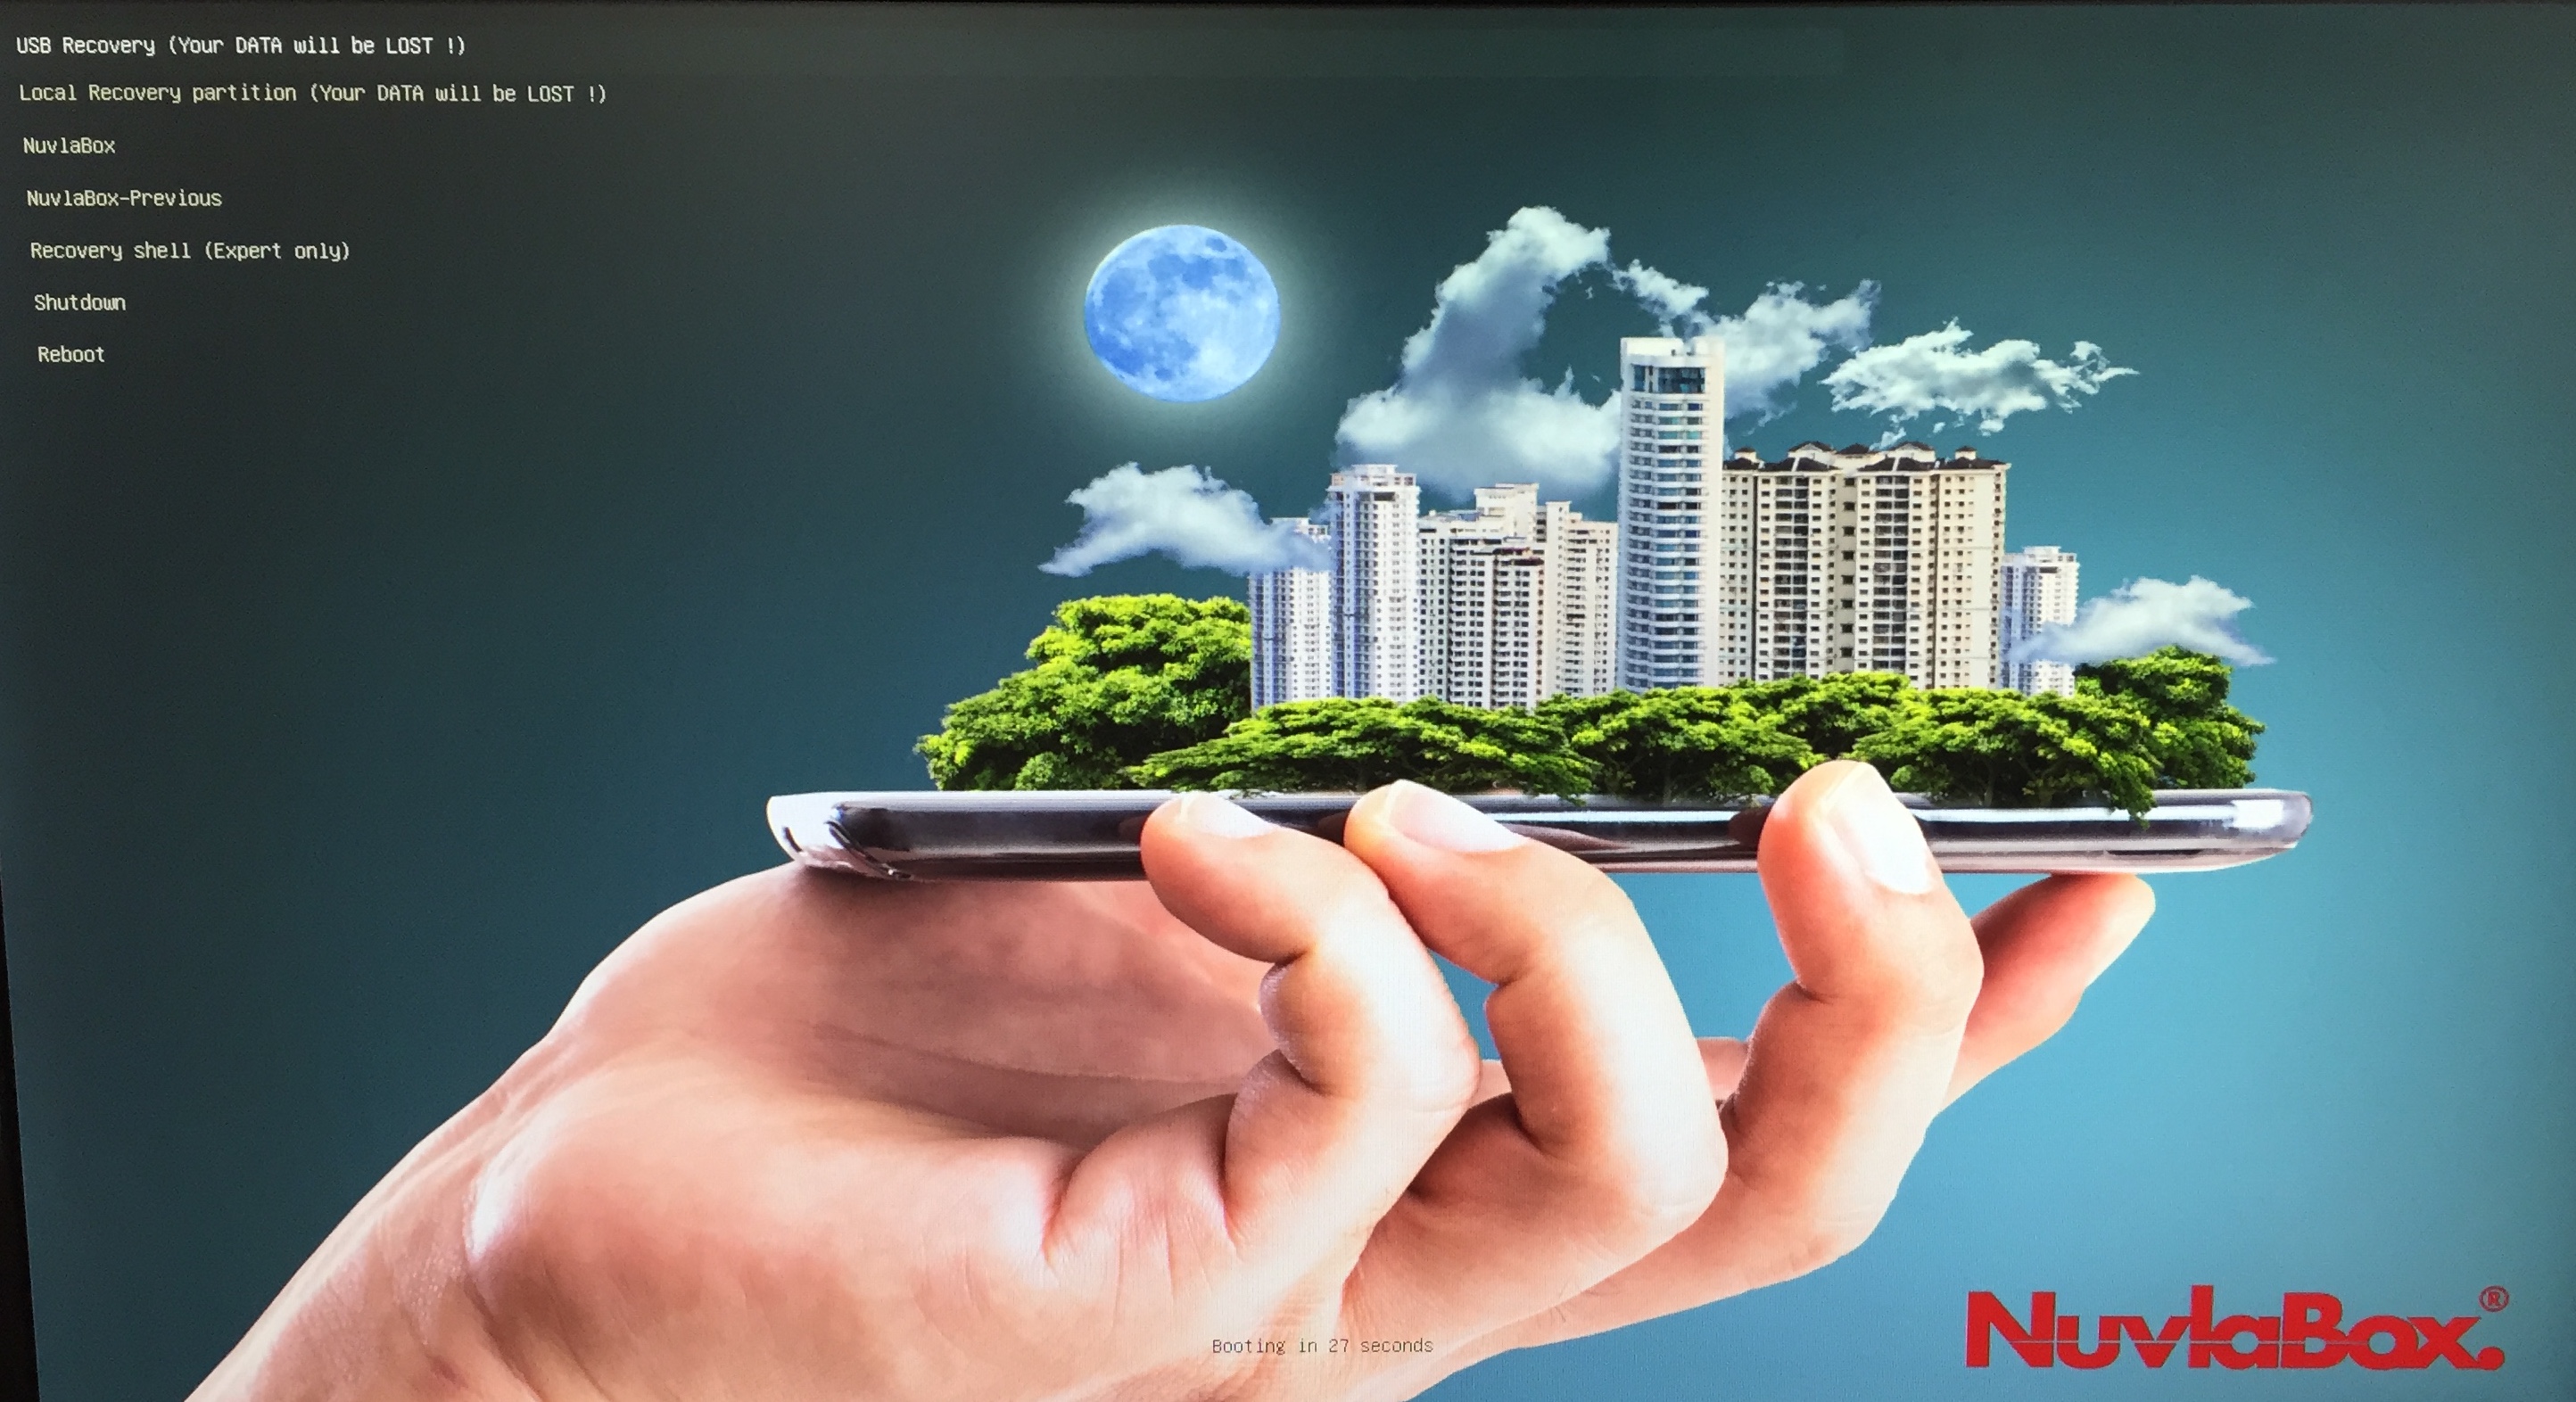
Fourth, select the installation type. The option you want is “USB Recovery” for a fresh installation. This is the default.

The machine will then boot several times; when the process is finished, remove the USB key.
Activation
A NuvlaBox must be “activated” before it can be used as a computing resource from Nuvla. The one-time registration activates a “NuvlaBox connector” resource on Nuvla that is identified by the machine’s MAC address.
NuvlaBox Connectors
If you have purchased:
- NuvlaBox hardware directly from SixSq, NuvlaBox connectors with the correct MAC addresses will already have been created and assigned to your Nuvla account(s).
- Hardware from other suppliers, then you must provide SixSq with the MAC addresses of the machine(s) you will activate. SixSq will then create the necessary NuvlaBox connectors.
The activation process will not succeed until the associated NuvlaBox connector is available on Nuvla.
Note
This activation can only be done once; further attempts to activate the same MAC address will fail. This prevents someone else from impersonating your NuvlaBox with another machine.
Note
If a machine is compromised, you can quarantine the NuvlaBox connector on Nuvla. This will deactivate the NuvlaBox and prevent any new workloads, data, etc. being sent to the machine. A quarantined NuvlaBox can only be recovered with help from SixSq support.
Reboot to Activate
To start the activation process, simply reboot the machine once the machine has network access. You can watch the progress from the machine’s console and see the activation status on the Nuvla Dashboard.
Note
As a reminder, if network access was available during the installation process, the machine will initiate the activation process without a reboot.
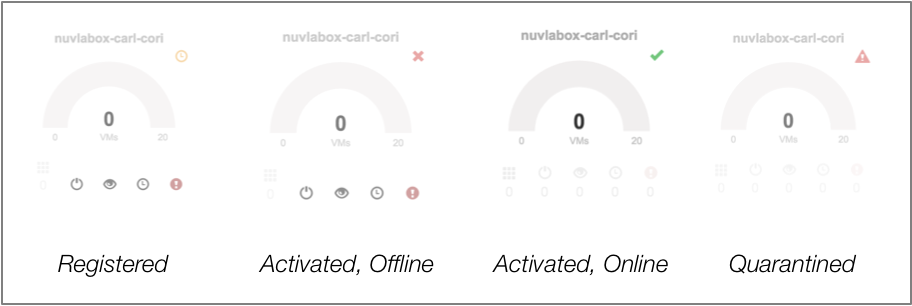
The Nuvla dashboard indicates the status of a NuvlaBox machine with an icon in the upper-right corner of the tile:
- For a NuvlaBox that has been registered with Nuvla (that is, the NuvlaBox connector with the correct MAC address is present), the dashboard will show the machine with a yellow clock icon.
- When the activation process is complete, it will initially show the NuvlaBox to be offline. This is indicated by a red cross.
- After a final reboot, the machine will be online, indicated by a green checkmark.

Once it is online, applications can be started on the NuvlaBox machine. Like for all resources, the Dashboard will show the state of those applications and provide the means to control them.
Summary
In this section, you have seen how to install the NuvlaBox software stack on a compatible machine and activate the machine so that it can be used through Nuvla. The following sections provide more details on using the NuvlaBox to run your applications.