Nuvla
Nuvla, a SlipStream service operated by SixSq, allows you to curate your cloud applications, manage their lifecycle, and monitor them. It provides a convenient web browser interface that gives you an overview of your applications and resources. It also provides a complete REST API to allow integration with other systems (but which is not covered in this demonstration).
Account
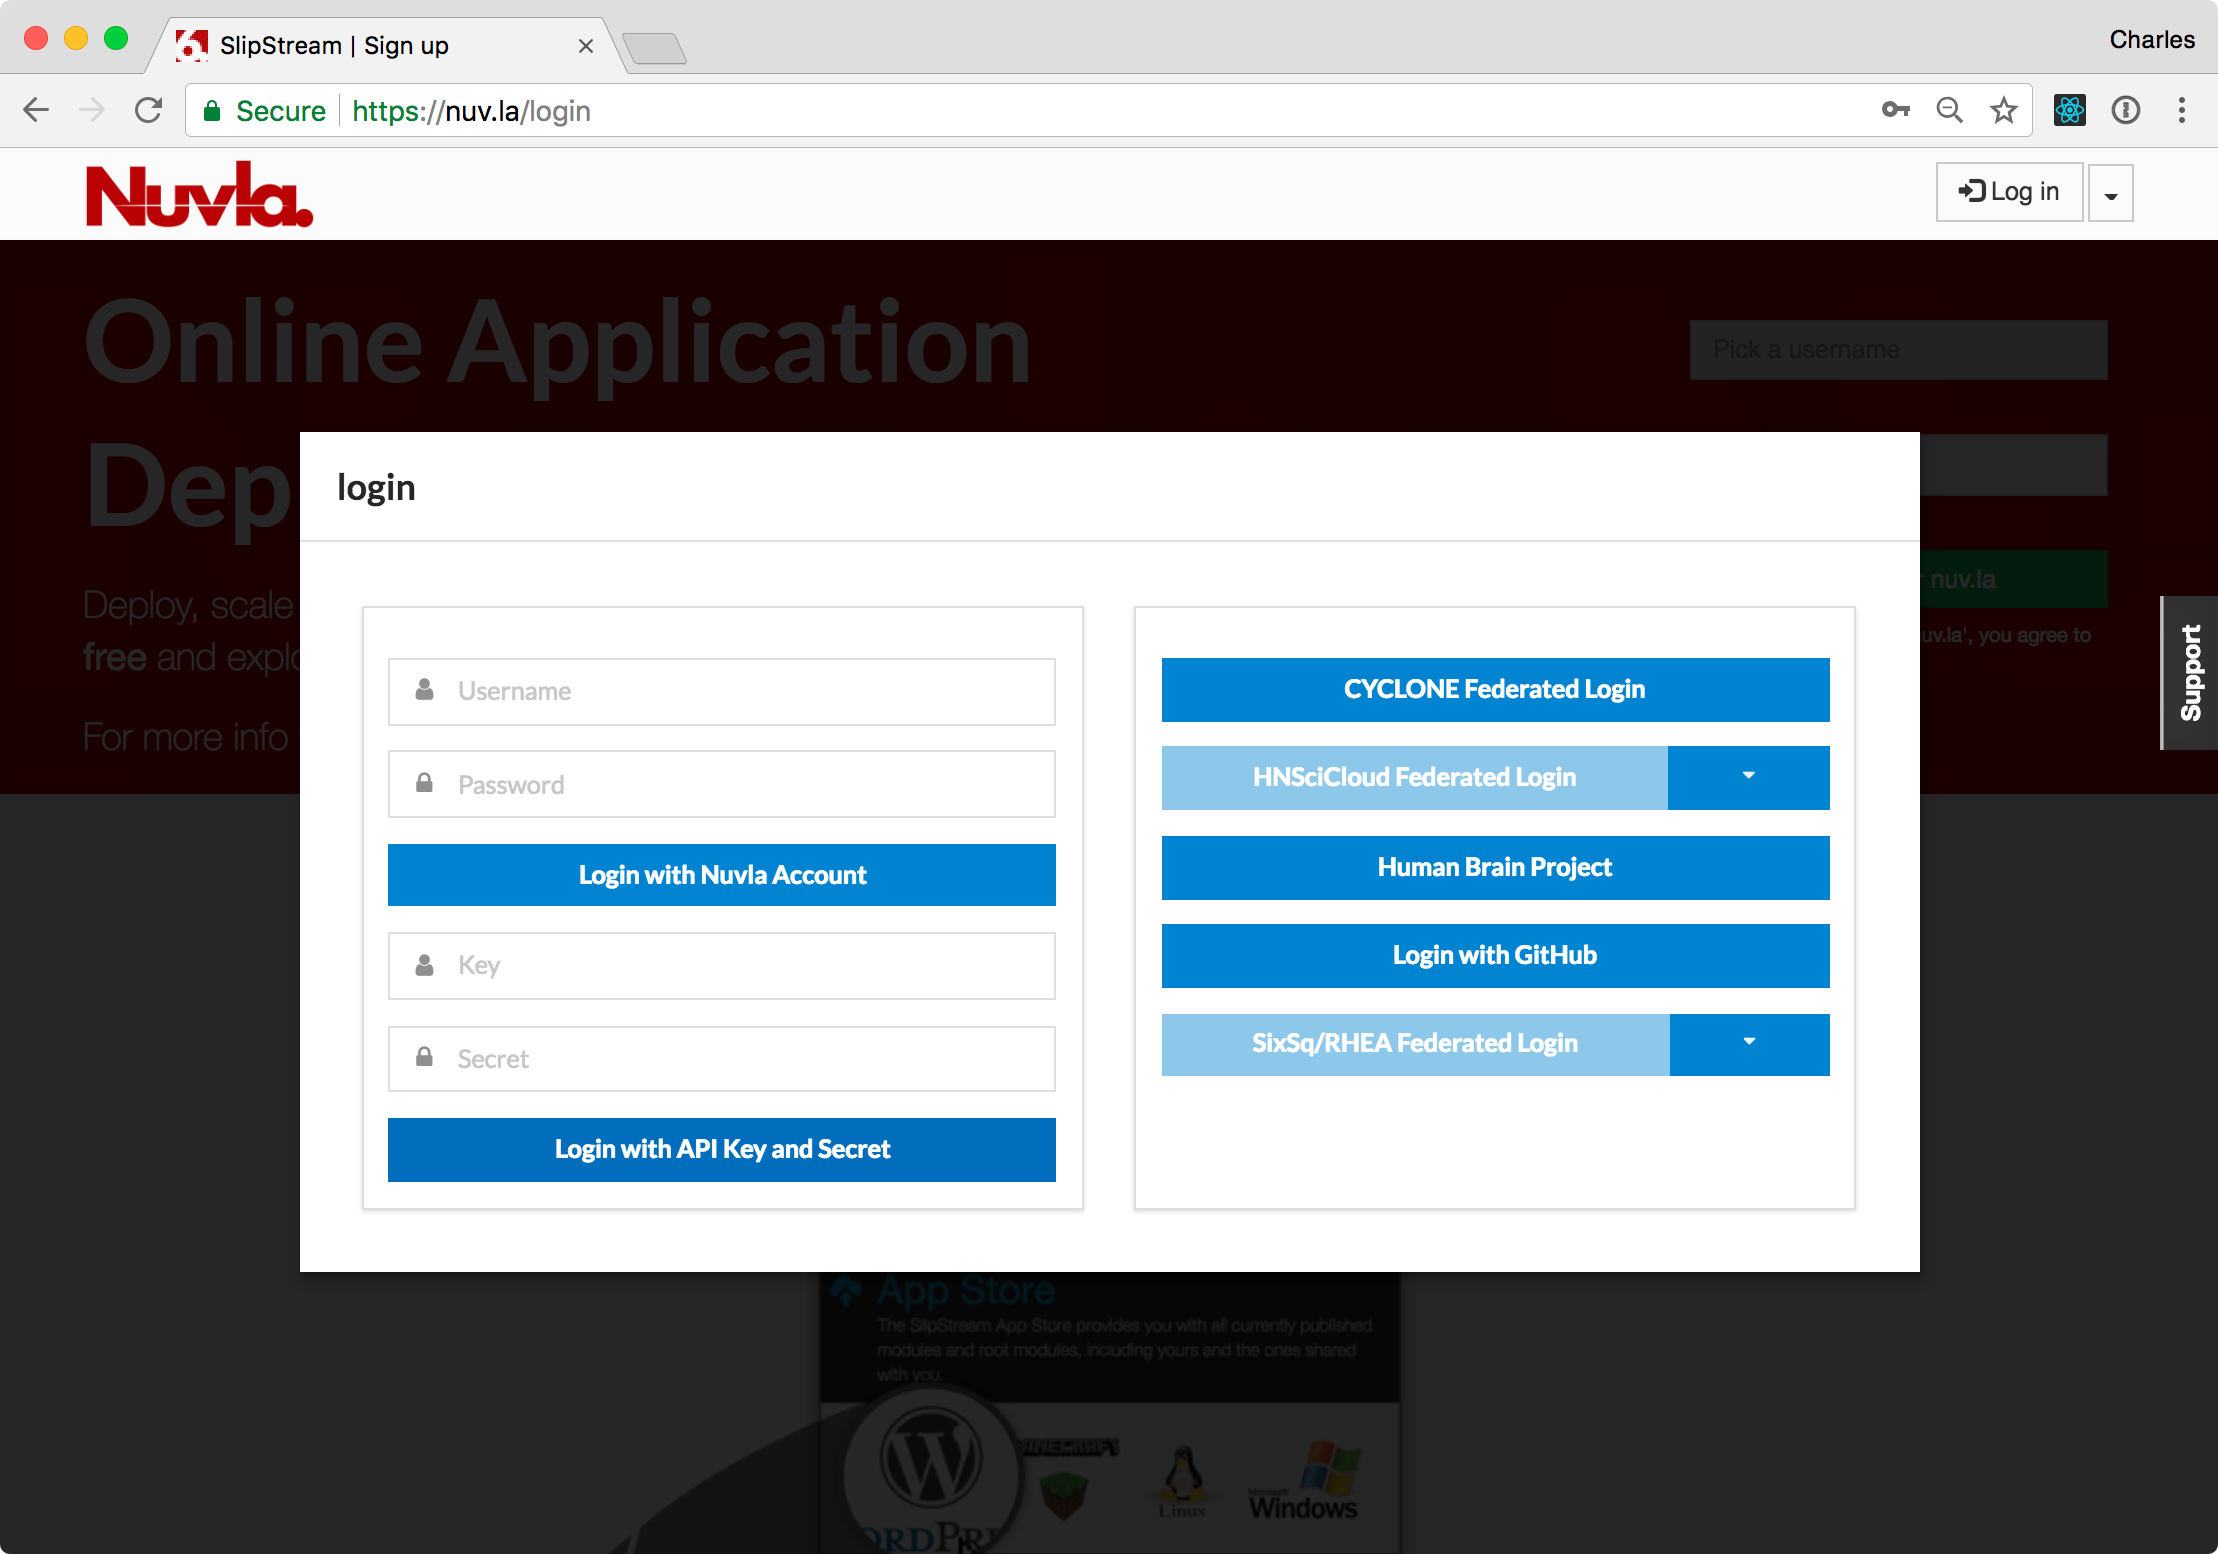
You will have been either asked to register for an account or given an account already created by Nuvla administrators. To log into your account:
- Visit the Nuvla service at https://nuv.la,
- Click on the
Log inbutton in the upper-right corner,- Fill in your username and password,
- Click on the
Login with Nuvla Account.
The first time you log in, you will be redirected to the App Store and offered a tour. Click one of the buttons to ignore the tour for now. On subsequent logins, you will be redirected to the Dashboard. Click on the Dashboard menu item at the top to see your Dashboard.
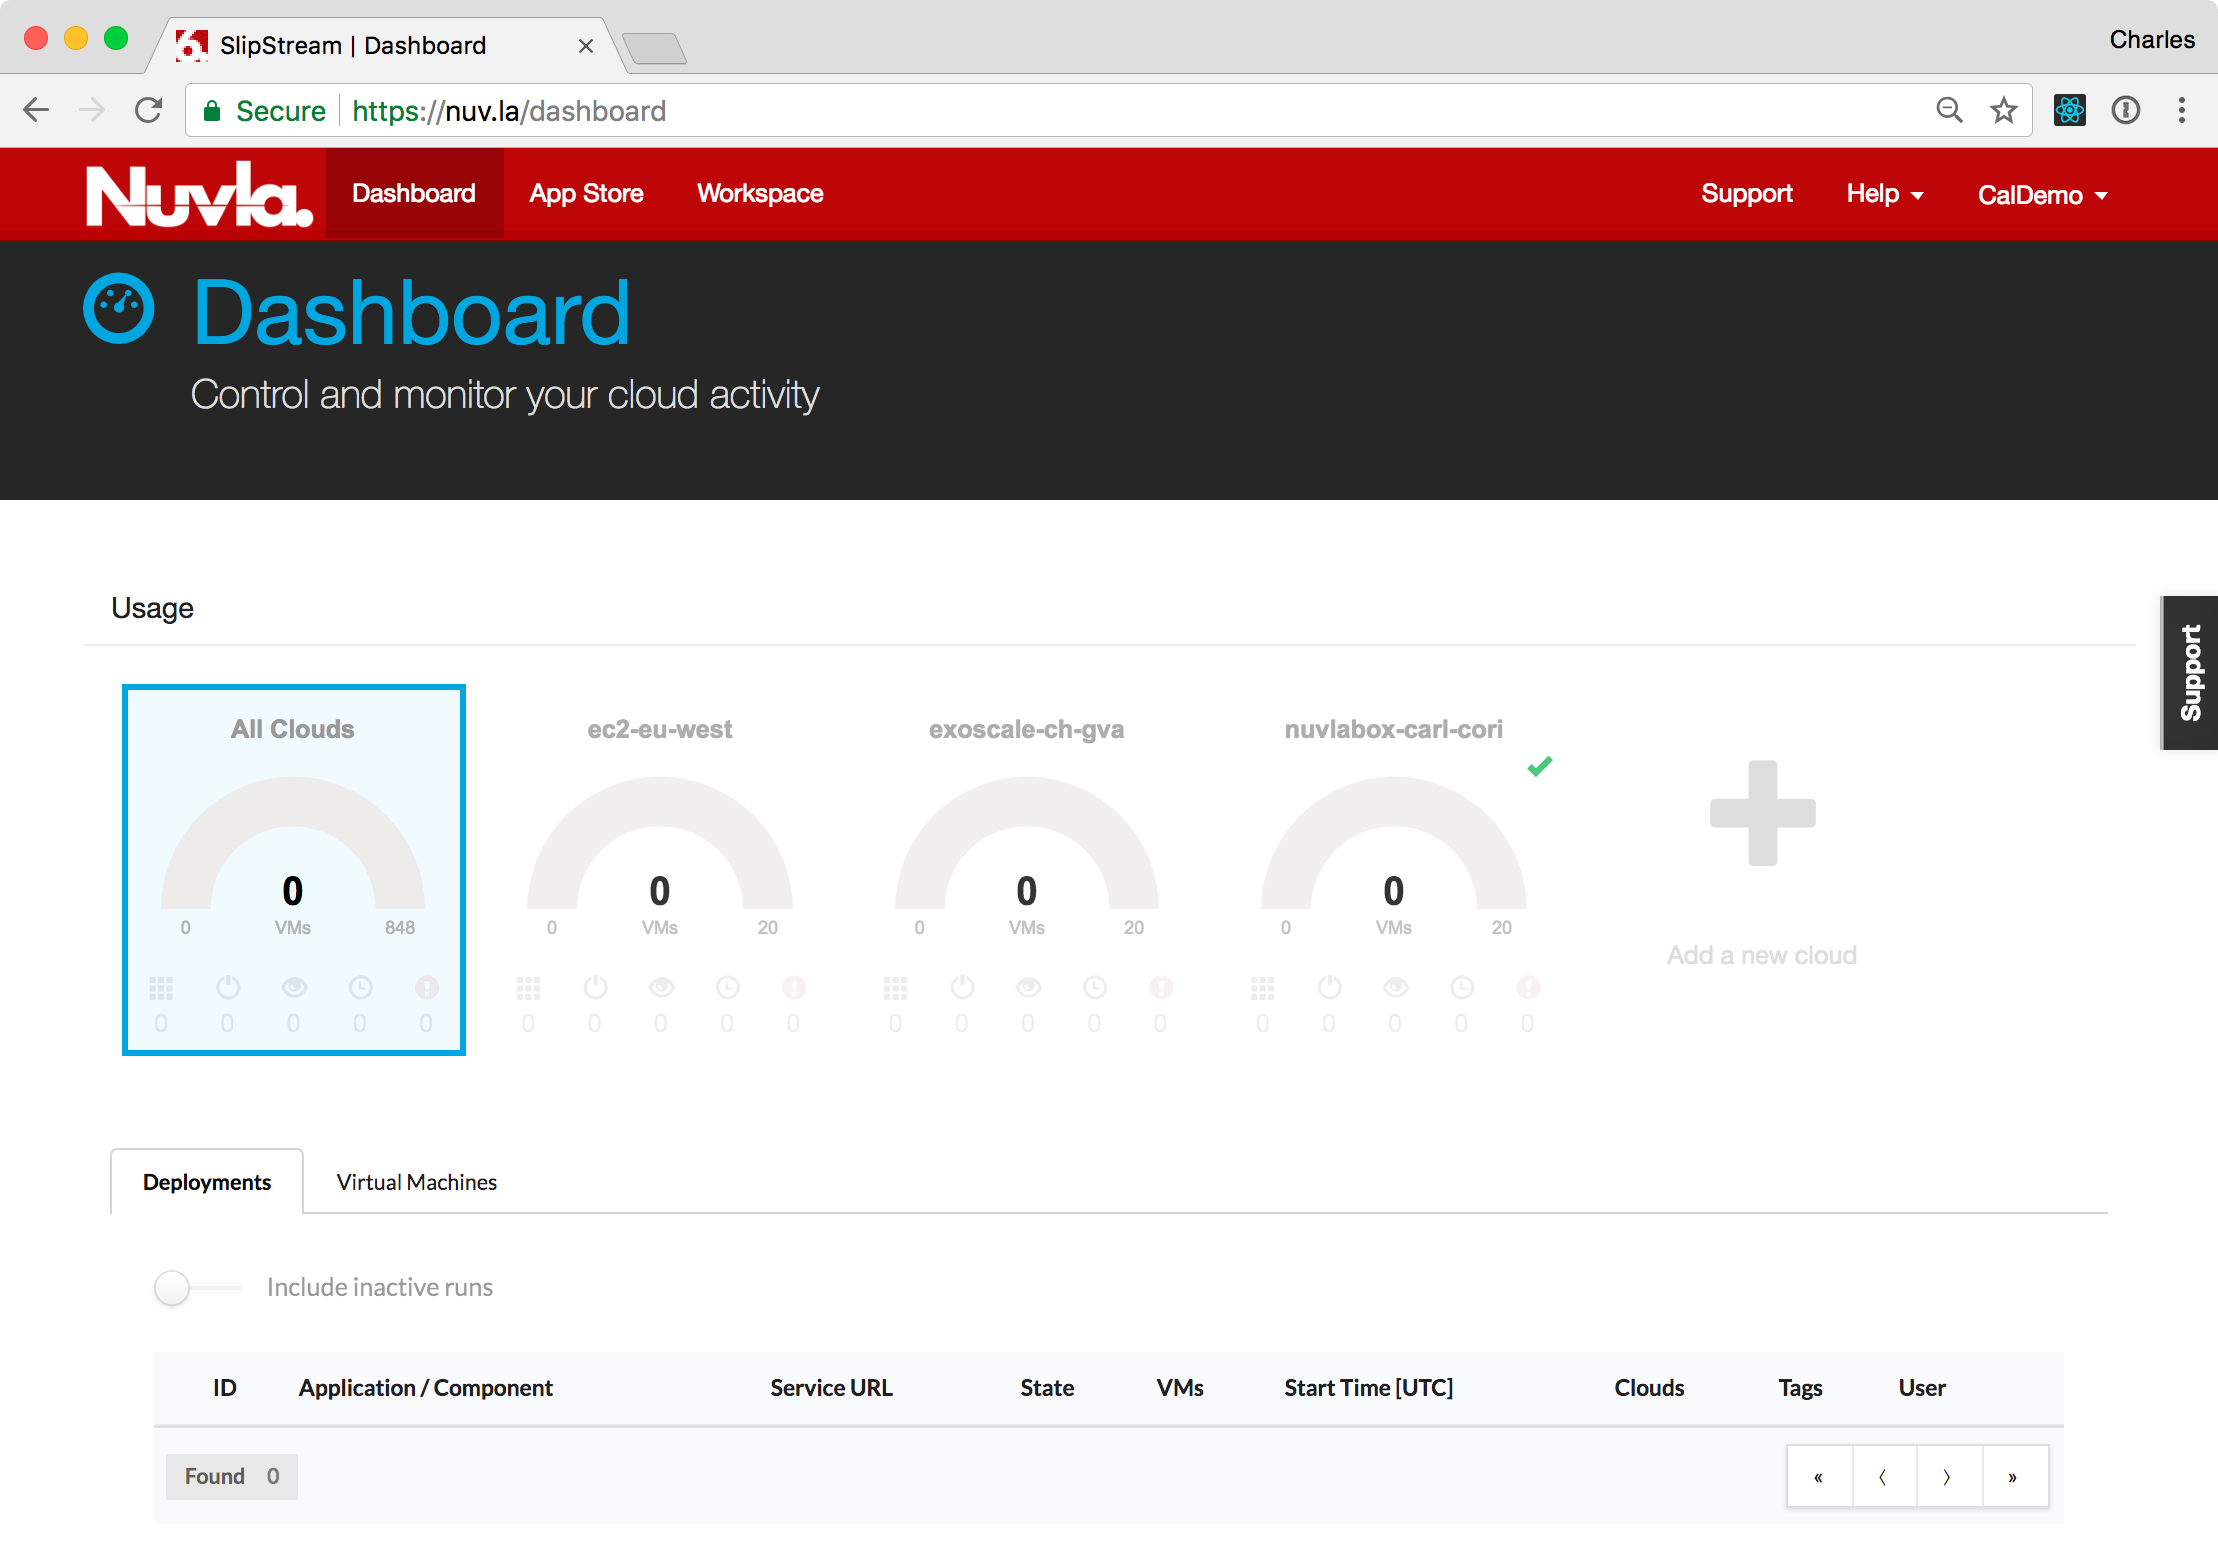
On the Dashboard, you will see NuvlaBox edge devices and clouds that you can access and an empty list of deployments. The user in the screenshot has access to one NuvlaBox device (nuvlabox-carl-cori), one region in the Exoscale cloud, and one region in the AWS cloud.
User Profile
Before proceeding, you need to setup or verify a few values in your profile. Open the menu item in the upper right corner labelled with your username and then click on the “Profile” item. You should then see a page similar to the following screenshot.
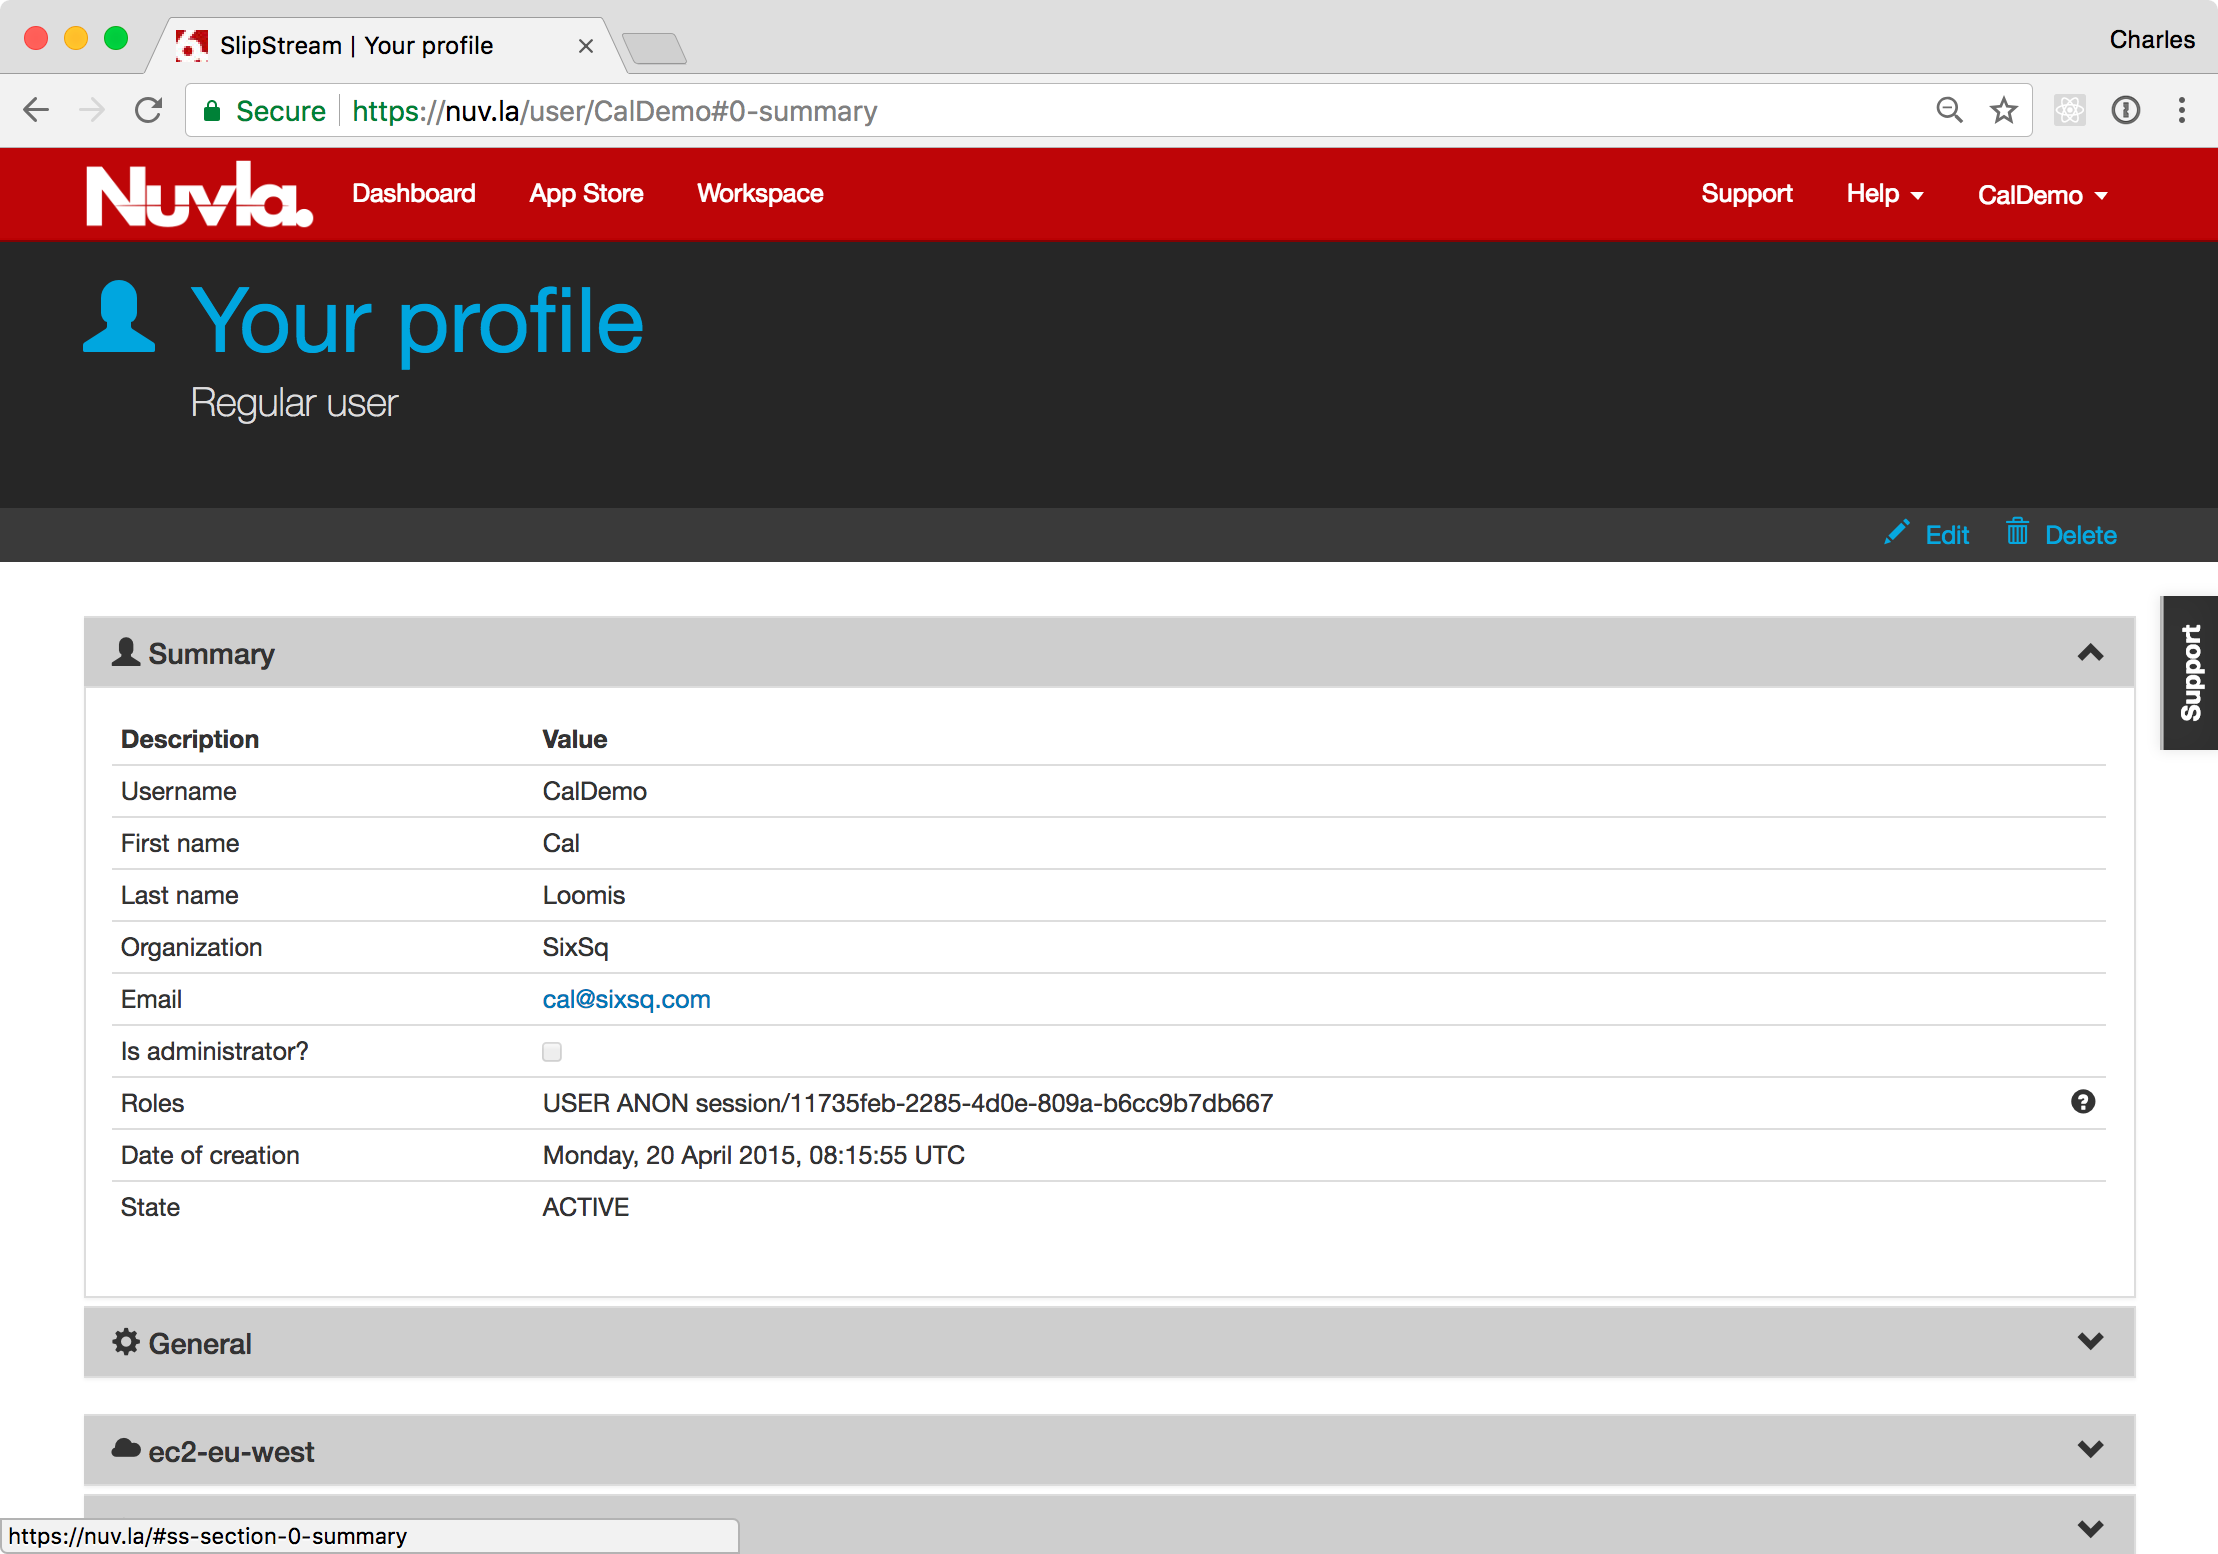
Click on the Edit action and open the “General” section by
clicking on the header. We will change three values:
- Default Cloud: Change the value to your NuvlaBox device (or one of your NuvlaBox devices). This will be the default computing resource when deploying applications.
- Keep running after deployment: Verify that this is set to “on success”. This will keep deployments running when then succeed.
- SSH Public Key(s): Add your OpenSSL-formated, public SSH key. This allows you to log into deployed machines via SSH.
After the changes, click on the Save action.
Summary
With the described actions, you should now have a Nuvla account that is ready to be used for the rest of the demonstration. Explore the various aspects of the Nuvla user interface before preparing the NuvlaBox.