Prerequisites
Before starting the tutorial, you must have:
- An account on Nuvla (or another SlipStream installation),
- Accounts on two [1] different cloud infrastructures, and
- A properly configured workstation.
Instructions on how to obtain accounts and how to configure your workstation are below.
Nuvla Account
SlipStream allows people to use multiple cloud infrastructures transparently and easily. Personal accounts allow users to keep their work private and to protect their cloud credentials. This tutorial assumes that you’re using Nuvla, a free SlipStream service (“SlipStream SaaS”) operated by SixSq.
Registration (New Account)
You can create a new account by registering directly through the service.
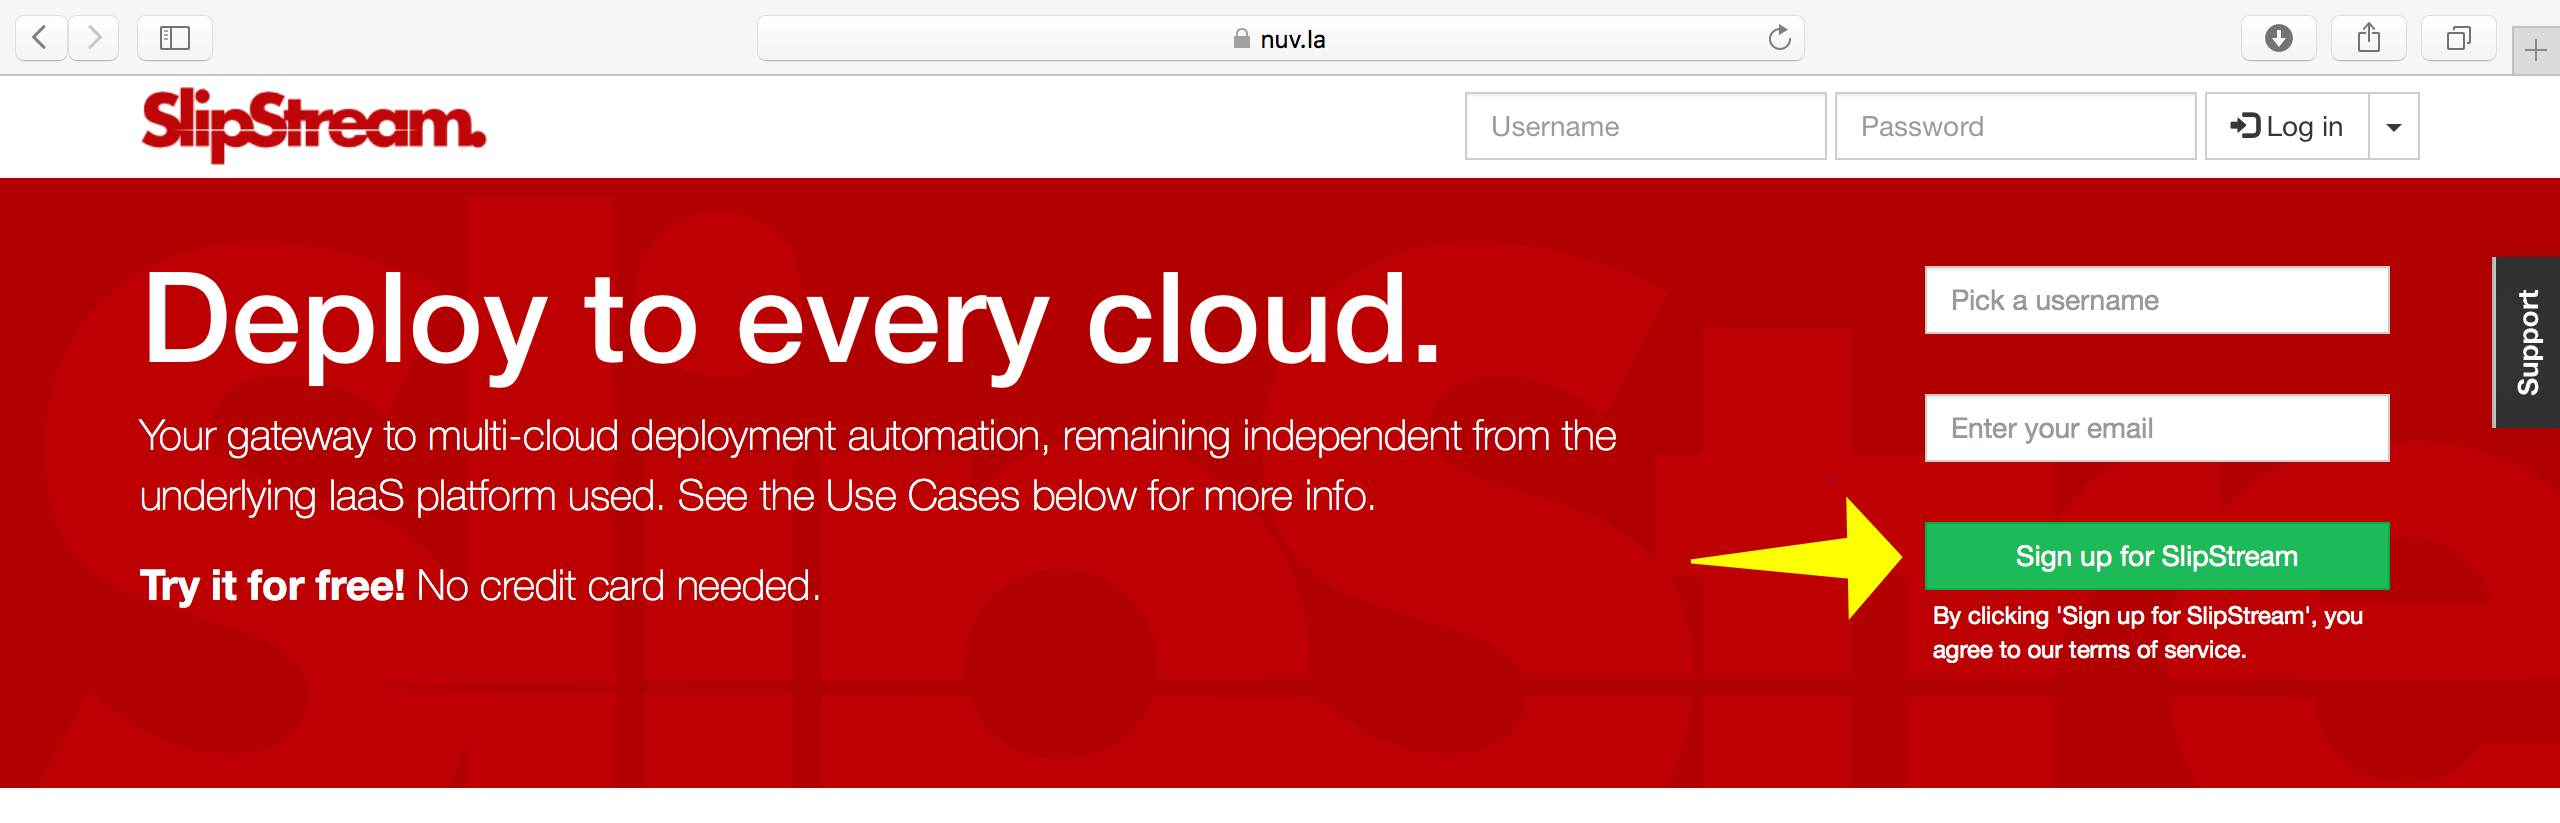
The registration procedure follows the usual pattern for web applications and will probably be familiar to you. Nonetheless, the detailed instructions for creating an account on Nuvla are:
- Fill in the registration form on the Nuvla login page, providing a username and an email address.
- You will then receive an email with a link to verify your email address.
- Visit the URL provided in that email, either by clicking on the link or copying it into your browser.
- You should then see a page that says that your email address was validated.
- A second email, containing a temporary password, will then be sent.
- Visit the Nuvla login page again and log in with your username and temporary password. For now, close the splash screen offering a tour of SlipStream. We’ll get back to that!
- View your user profile by clicking on “Profile” under your username at the top, right side of the page.
- Change your temporary password by clicking on “Edit”, updating the password fields in the “Summary” section and then clicking on “Save”.
In your profile, you will also need to provide cloud credentials and optionally an SSH public key to make full use of SlipStream. The configuration steps are provided below.
Tip
If you’re using your own SlipStream installation, replace the Nuvla endpoint with the endpoint of your server. Note that the administrator of the SlipStream service may not allow open registration of users.
EXERCISES
- Follow the Nuvla registration procedure to obtain an account.
- Change the temporary password and logout/login to verify that it works.
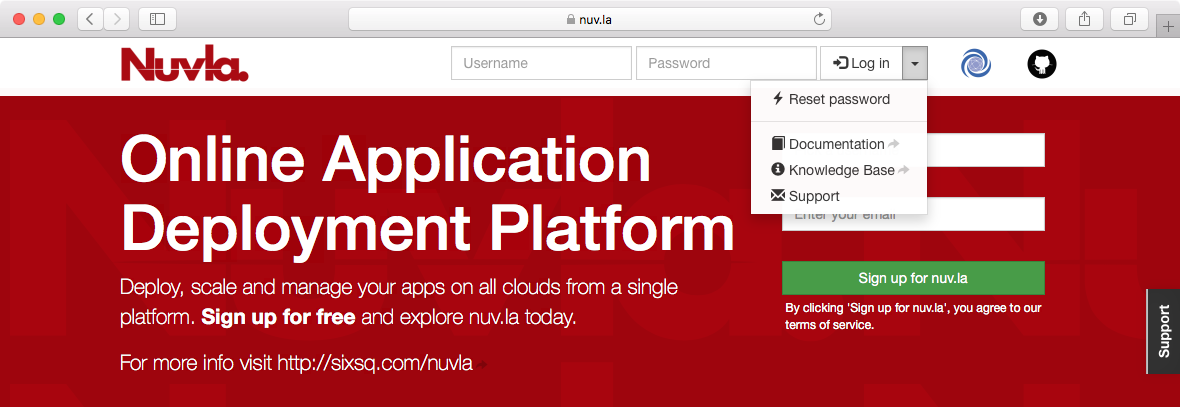
Reset Password (Existing Account)
If an account has been created for you, then you can reset the password to gain access to the account. To do this, you must have the username associated with your account. The administrator of the SlipStream service should have provided you with this information.
First, from Nuvla click on the password reset link. You can find the location in the following screenshot.
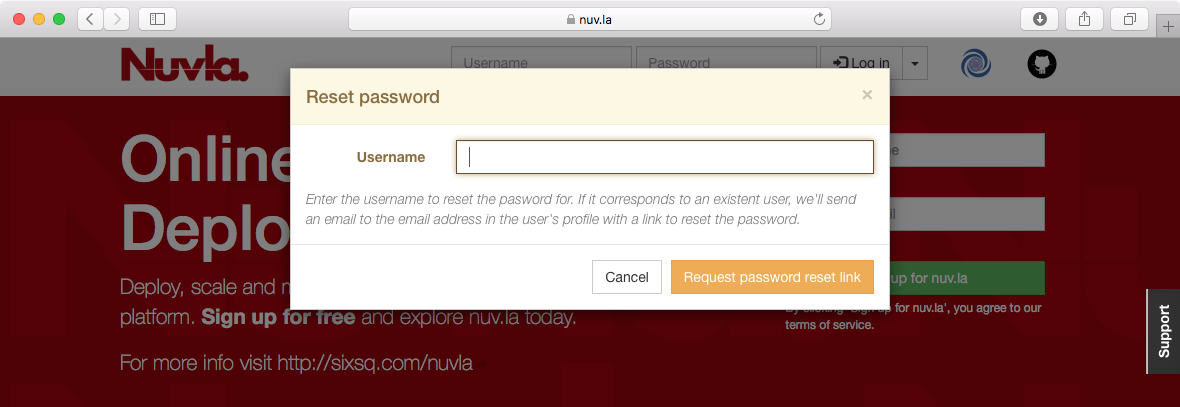
Next, provide your username and then request the password reset.
You will receive a message sent to the email address associated with the account. Validate the password reset request by visiting the link in the message. You’ll then receive a new password for the account. You can change the password to something you’ll remember on your user profile page.
EXERCISES
- Reset the password on your account.
- Change the temporary password and logout/login to verify that it works.
Cloud Infrastructure Accounts
You will also need to provide the credentials for at least one cloud infrastructure before being able to use SlipStream to deploy cloud applications. To complete the multi-cloud examples in this tutorial, you will need access to two cloud infrastructures or one cloud service with two regions.
SlipStream supports nearly all major cloud service providers and open source cloud solutions. The registration procedure is similar for all cloud services, but you may need to contact your cloud administrator for all of the necessary configuration parameters.
The detailed procedure is provided for Exoscale below.
Exoscale
If you need to create an account at Exoscale, you can visit their registration page. If you already have an account go directly to Exoscale login page.
Tip
If you have a promotional card with an initial credit, be sure to use it when you first sign up. To use the promotional card you need to access the registration resource using the following URL https://portal.exoscale.ch/register?coupon=YOURCODEHERE by copy/pasting it to browser’s URL bar and replacing YOURCODEHERE with the promotional code found on the card.
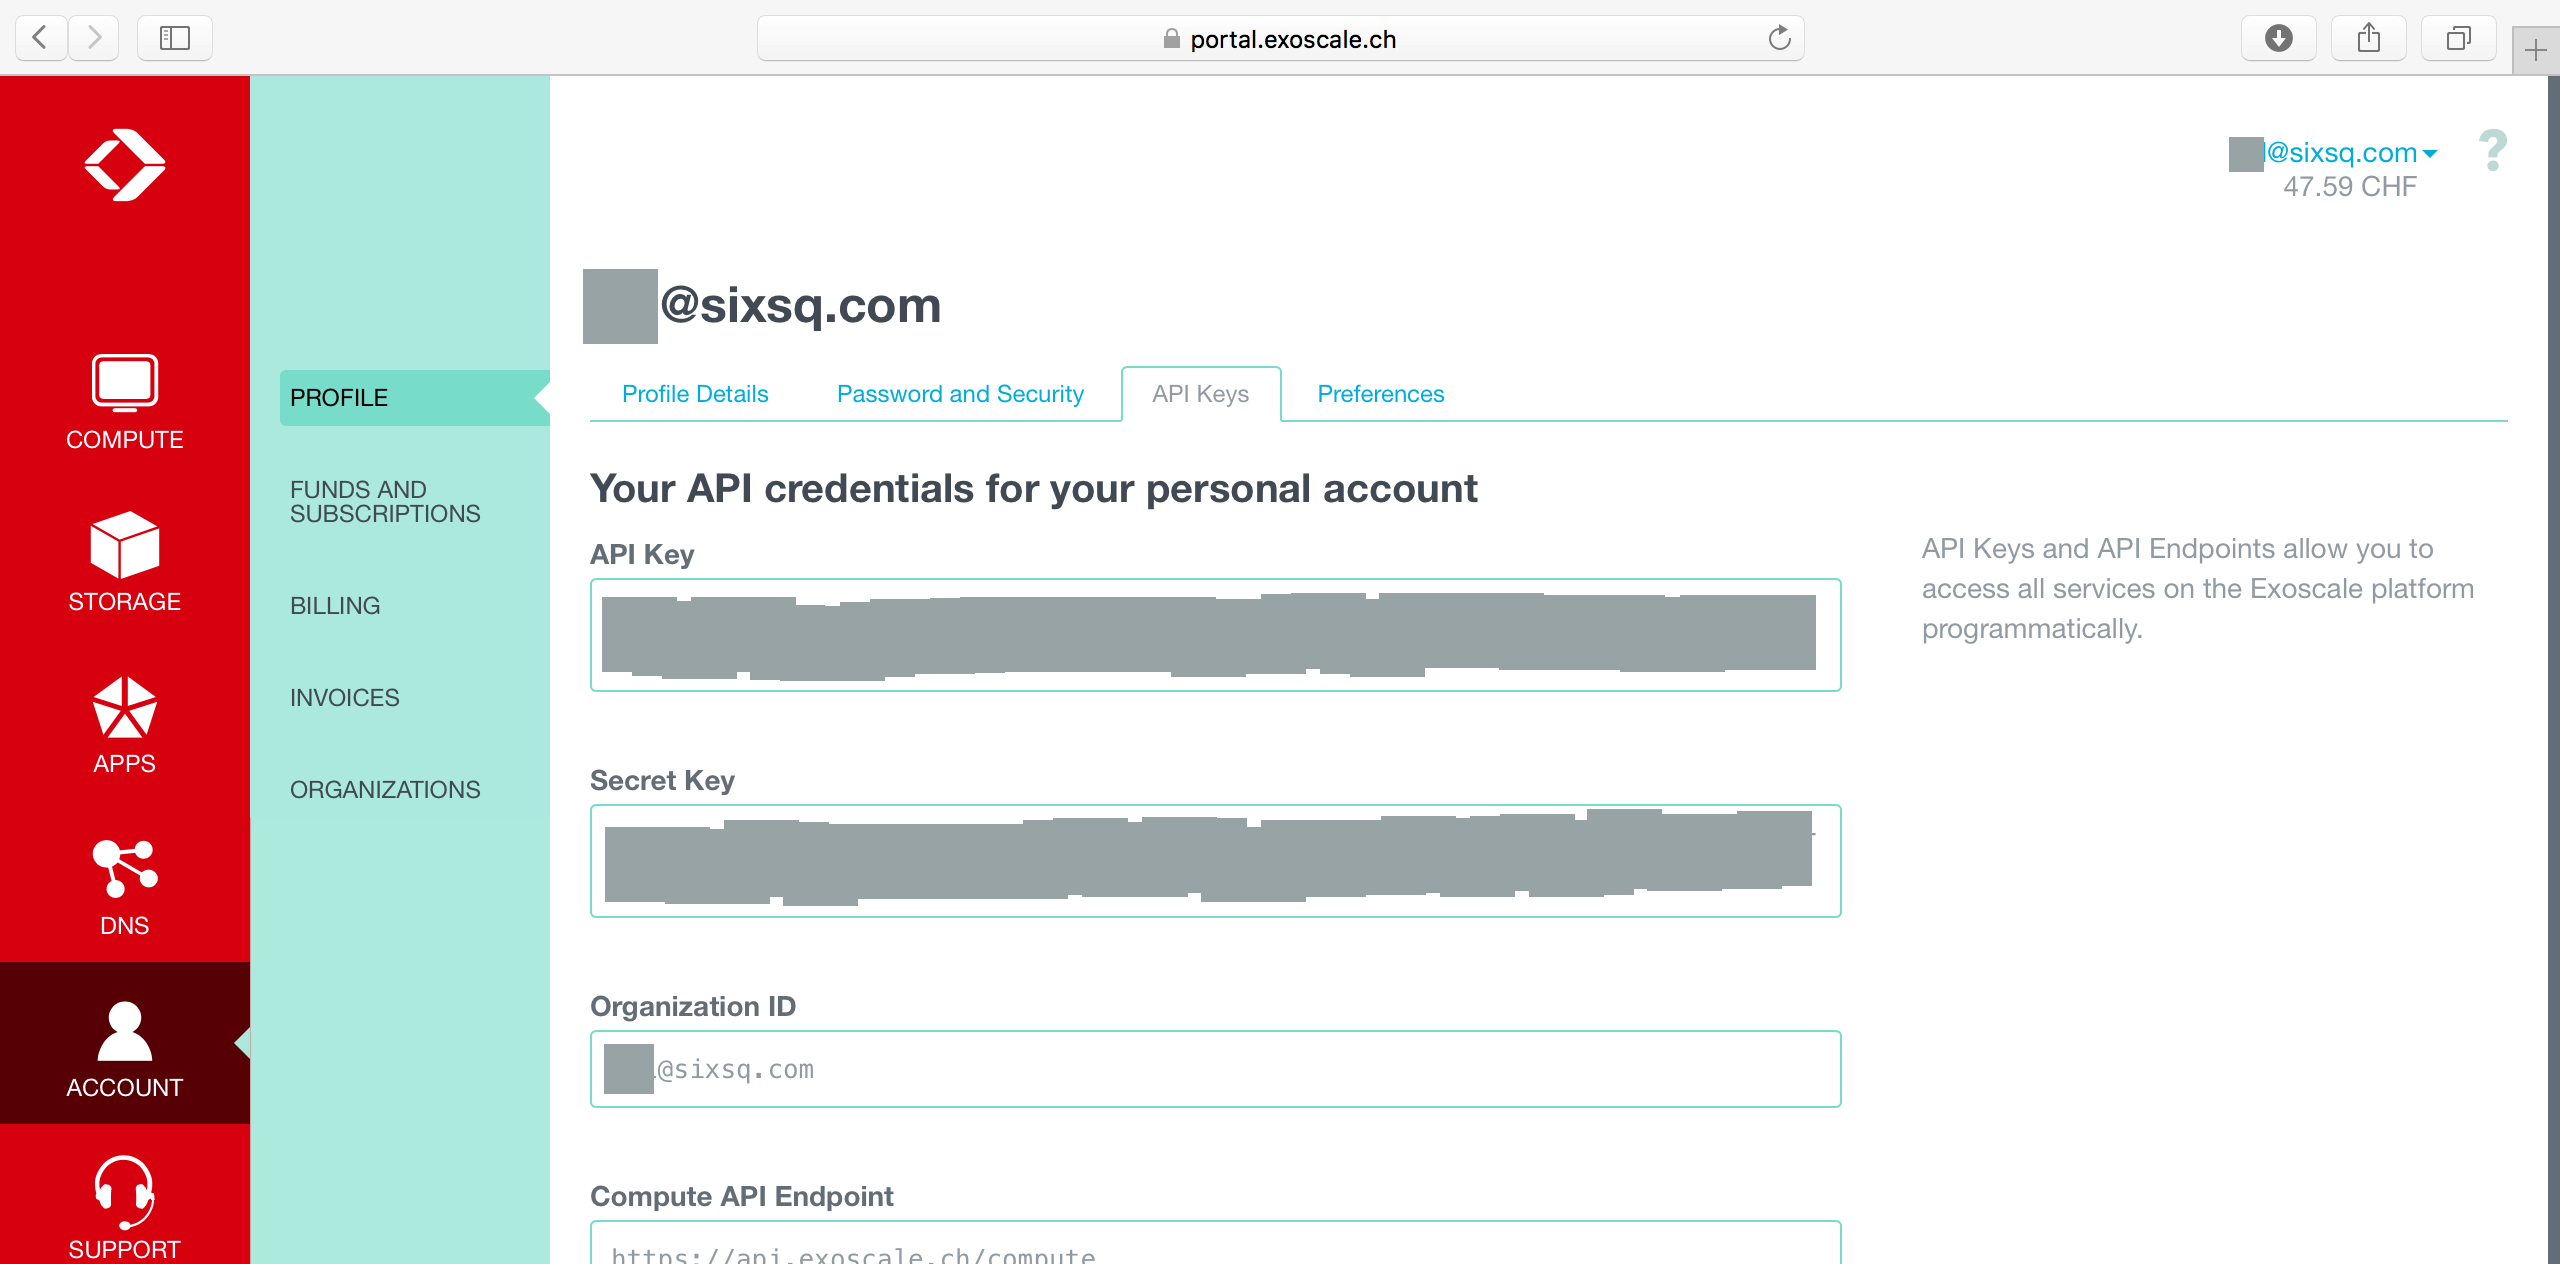
Once you’ve obtained your account with Exoscale, then you’ll need to provide your Exoscale credentials to Nuvla. To find the information you need in the Exoscale portal:
- Click on the “Account” icon on the left after logging into the Exoscale portal.
- Click to open the “API Keys” tab.
- You will need the values of the “API Key” and “Secret Key” fields for the SlipStream configuration.
Add your Exoscale credential to your Nuvla account for the Exoscale regions defined there by repeating steps 3. and 4. for “exoscale-ch-gva” and “exoscale-ch-dk” connector instances.
- Open your user profile (top-right, under your username).
- Click on “Edit”.
- Open the section “exoscale-ch-gva” (or “exoscale-ch-dk”) by clicking on the section header.
- Provide the “API Key” value in the “Key” field and the “Secret Key” value in the “Secret” field.
- Click on “Save”.
You will now be able to use two regions of the Exoscale cloud with your account through Nuvla.
Tip
The optional “domain” parameter allows you to delegate control of a DNS zone that you own, to Exoscale. This parameter for advanced use cases can be left blank.
EXERCISES
- Follow the Exoscale registration procedure to obtain an account.
- Add your Exoscale credentials to your user profile.
- Set the “Default cloud” parameter to Exoscale in your user profile.
Workstation Configuration
You will need to have the following software/tools installed and configured on your workstation to follow the exercises in this tutorial.
- Modern web browser: any recent version of one of the major browsers will be fine. You must have Javascript enabled.
- Advanced REST client: Install the latest version of Chrome and install the “Advanced REST client” extension.
- Secure Shell (SSH) client: This comes by default on most operating systems. With Windows, you’ll need to install PuTTY.
- SSH Key: For the SSH connections, you’ll need to have an SSH public/private keypair.
See the Appendix of this tutorial for more detailed information for the installation and configuration of these tools.
EXERCISES
- Configure your workstation with an SSH client and provide your SSH public key under the “General” section of your user profile.
- Verify that you can start the Advanced REST client on Chrome.
| [1] | You can also use an account on a cloud infrastructure with more than one region. You can also follow the tutorial using only one cloud account, but in this case, you won’t be able to complete the exercises demonstrating the multi-cloud features of SlipStream. |