Quick Installation
An automated installation script is available to install SlipStream and all of its dependencies on a CentOS 7 machine.
Node Preparation
Deploy the machine that you’ll be using for your SlipStream server with the CentOS 7 operating system. (See the prerequisites in the previous section for sizing information. A machine with 4 CPU cores, 8 GB of RAM and 20 GB of disk space is recommended as a minimum.)
The installation script will not perform a general upgrade of your CentOS 7 system. You may want to run:
$ yum upgrade -y
to ensure your system has the latest software and security patches.
Installation Overview
This installation script will run through the following phases:
- Prepares the node:
- Adds YUM repositories (EPEL, Nginx, Elasticstack, SlipStream)
- Installs global dependencies (unzip, curl, wget, …)
- Configures the firewall
- Allow all outgoing packets
- Allow loopback connections
- Allow incoming ICMP requests
- Allow incoming SSH connections (port 22)
- Allow incoming HTTP connections (port 80)
- Allow incoming HTTPS connections (port 443)
- Deny all other incoming connections
- Deny forwarding
- Disables SELinux
- Installs SlipStream dependencies:
- Elasticsearch
- HSQLDB
- Graphite
- Zookeeper
- Installs the SlipStream client
- Installs the SlipStream servers
- Stops running services
- Installs and configures packages
- Starts SlipStream services
- Installs and configures nginx proxy
- Installs and configures time synchronization service
- Required for checking validity of certificates, etc.
- Install SlipStream in /opt/slipstream
- Install HSQLDB in /opt/hsqldb
- Install nginx
- Install some other dependencies with yum and python-pip
- Configure nginx, HSQLDB and SlipStream
- Start nginx, HSQLDB and SlipStream
These instructions assume that you will be using the prebuilt binary packages for SlipStream. If you want to build your own packages from source, refer to the Developer Guide.
Run the Installation Script
Note
If you are installing the Enterprise Edition you must install
the certificates (yum-client.crt and yum-client.key)
provided by SixSq into /etc/slipstream/ before starting the
SlipStream installation process.
Warning
If you’re behind a web proxy, see the Installation via Web Proxy section before starting.
This command will take care of the full SlipStream installation process:
$ curl -sSfL https://raw.githubusercontent.com/slipstream/SlipStream/master/install/slipstream-install.sh | bash -s {edition} {repokind}
Replace the placeholders with the values for your installation. The possible values are provided in the following table.
| placeholder | values |
|---|---|
{edition} |
community or enterprise |
{repokind} |
snapshot, candidate or release |
The logs of the installation are available in the file
/tmp/slipstream-install.log and
/tmp/slipstream-connectors-install.log. These can be consulted to
understand the details of the installation process or to debug
problems.
SSL Certificate
The SlipStream installation script will generate a self-signed certificate for the server. If you want to avoid browser warnings about insecure certificate, install a certificate signed by a widely accepted certificate authority.
Place your server certificate (formatted as an X509 certificate and
key) in the files /etc/nginx/ssl/server.crt and
/etc/nginx/ssl/server.key. You must restart the server to have
SlipStream use the new certificate.
Cloud Connectors
If you have installed Community Edition of SlipStream, the quick install script will have already installed all the open-source connectors.
If you have installed the Enterprise Edition, you have to install all connectors you have a license for.
To install connectors, simply execute:
$ curl -sSfL https://raw.githubusercontent.com/slipstream/SlipStream/master/install/ss-install-connectors.sh | bash -s -- -r {repokind} {connector names}
| placeholder | values |
|---|---|
{connector names} |
space-separated list of connectors |
{repokind} |
snapshot, candidate or release |
Once all needed connectors are installed, restart SlipStream:
$ systemctl restart slipstream
You will then be able to configure the cloud connectors that you have installed.
Testing the Service
You should now be able to contact the SlipStream server with a web
browser using HTTPS; the URL should be https://your_machine/. You
should be redirected to the login page that looks similar to the
following screenshot.
If everything looks good, you are ready to configure the server and cloud connectors.
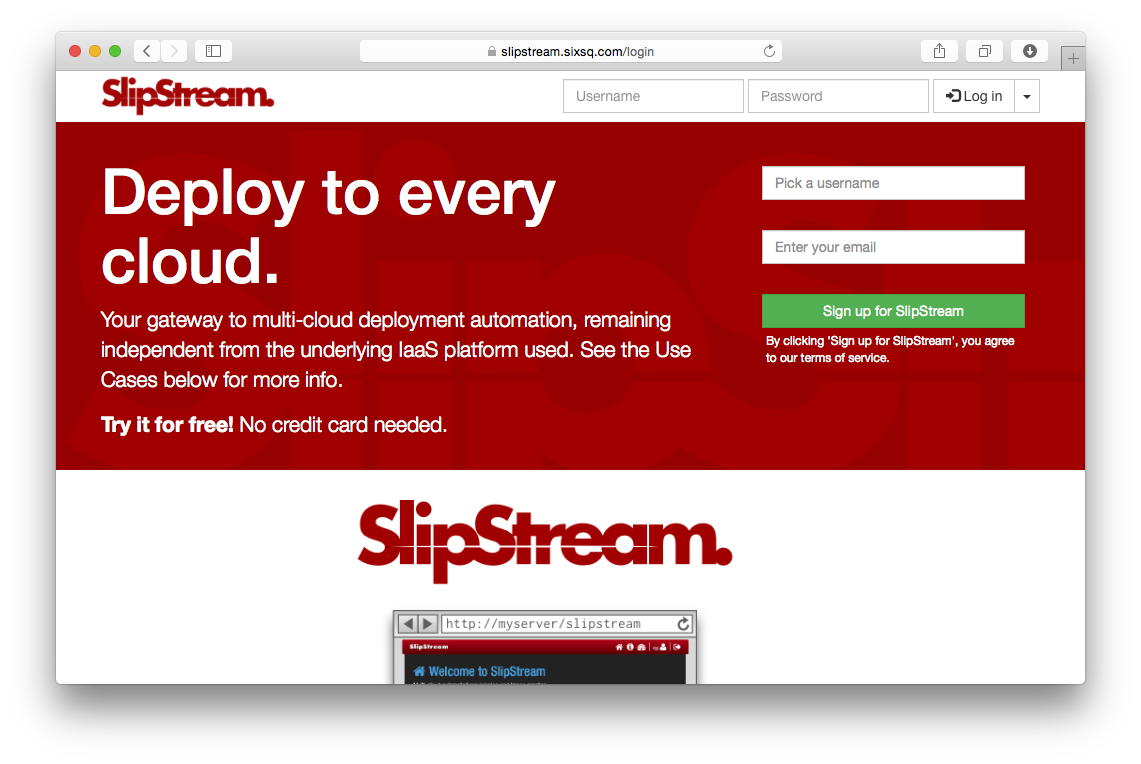
SlipStream Login Page
Configuration
To configure your SlipStream server, log into the server as super
and use the pages found under the “Configuration” menu item. Use the
information in the Authentication, Cloud Connectors, and Connector
Installation and Configuration sections.
Installation via Web Proxy
If you are installing SlipStream from behind a web proxy, you’ll need some additional configuration to ensure that the scripts and packages can be downloaded through the proxy. Set the following environmental variables:
http_proxy=http://user:password@ip_addr:3128/
HTTPS_PROXY=https://user:password@ip_addr:3128/
HTTP_PROXY=http://user:password@ip_addr:3128/
replacing the user, password, and ip_addr with the
appropriate values. This allows the commands curl and rpm to
access everything.
In addition, you need to add the following lines to /etc/yum.conf:
# The proxy server - proxy server:port number
proxy=http://xxx.xxx.xxx.xxx:3128
# The account details for yum connections
proxy_username=xxx
proxy_password=yyy
again replacing the values as appropriate.